Introduction
This document outlines the university approved process for securely deleting Personal Information (PI) and Protected Health Information (PHI) after the PI or PHI has been encrypted.
Prerequisite
Eraser Portable® Secure Data Remove software needs to be installed on your computer. Please contact the SAMI Support Desk to request the installation of this software. A member of USAN will assist with the installation and setup of the software.
Document Deletion Process
To securely delete an unencrypted version of a document that contain PI and/or PHI that has been encrypted, complete the following steps:
- Find the “Secure Deletion” shortcut folder on your computer desktop screen
- Cut and paste the unencrypted version of the file to be deleted into this folder
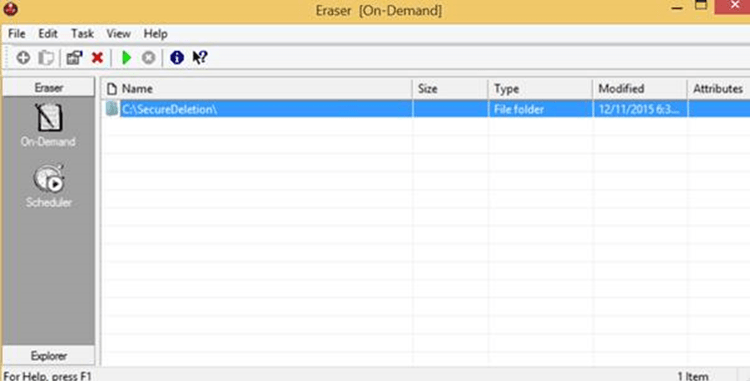
- Find the “Eraser Portable” shortcut folder on your computer desktop screen and click to open the folder
- Double Click on “EraserPortable.exe“. The screen below will appear
- Click on the Green Run arrow to erase the file securely
- A dialogue box will appear
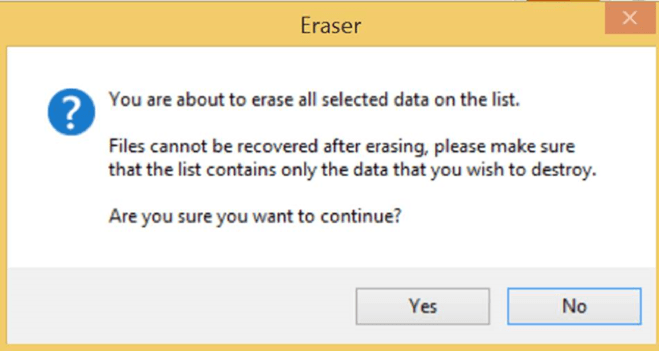
- Click “Yes“
- When the deletion process completes, you will see a report appear
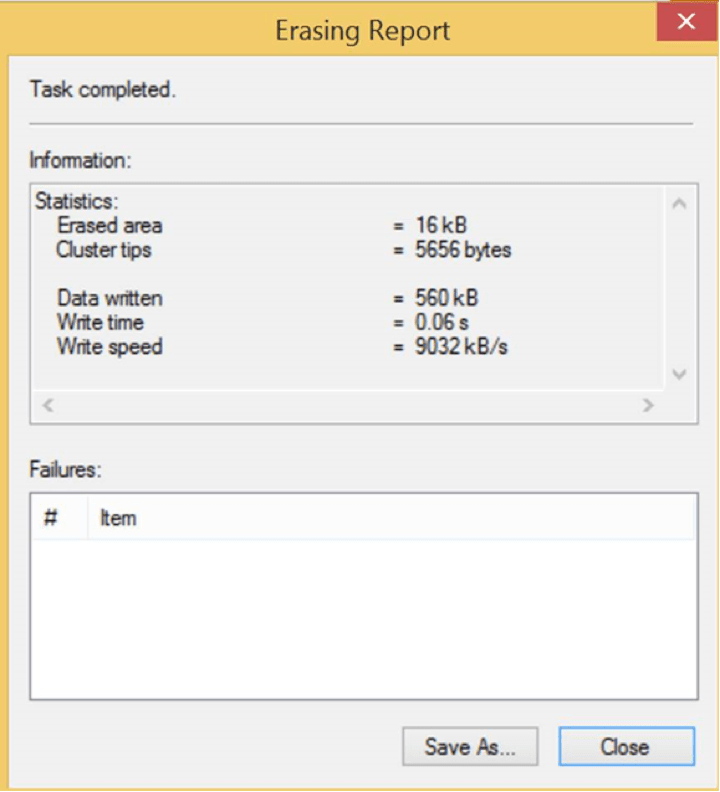
- You may check your “Secure Deletion” folder to see if all documents have been erased
Outlook E-mail Deletion Process
To securely remove emails which contain PI and PHI from your Outlook client, complete the following steps:
- Delete the email from your Inbox and/or Sent items folder
- Delete the email from your Deleted Items
- Go to “Recover Deleted Items“
- Highlight Deleted Items Folder

- Then go to Folder > Recover Deleted Items

- Highlight email which requires permanent deleting and select “Purge Selected Items” and then click “OK“. Now message is permanently out of your email system
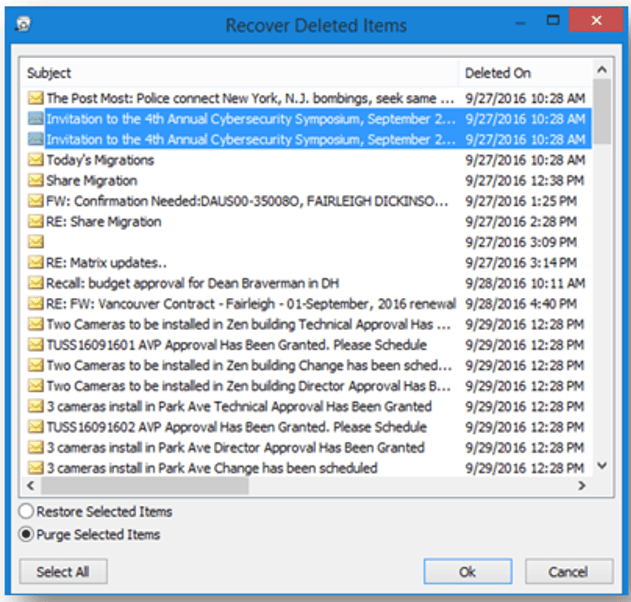
- Finally, click “OK” on the following screen


