

FDU’s VPN Client Software, is also known as the “Cisco AnyConnect Secure Mobility Client”.
- Use any web browser (Google Chrome, Mozilla Firefox, Safari) to navigate to vpn.fdu.edu. Please refrain from using the Internet Explorer web browser when installing the FDU VPN Client
- Select your role within the University from the Group pulldown menu and enter your NetID Information in the username and password fields (user@fdu.edu)
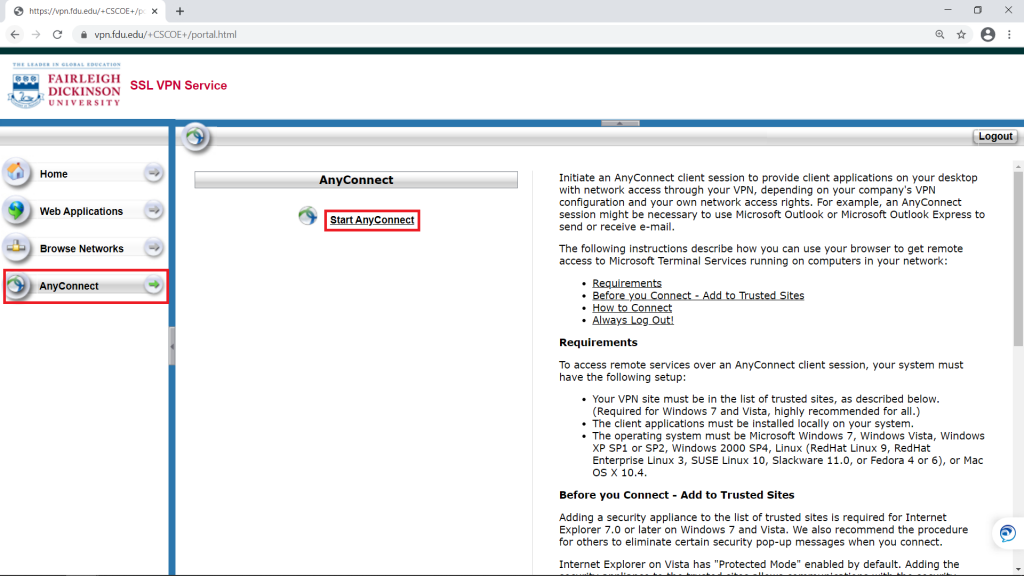
- On the left-hand side menu, click on “AnyConnect“, then click on “Start AnyConnect”
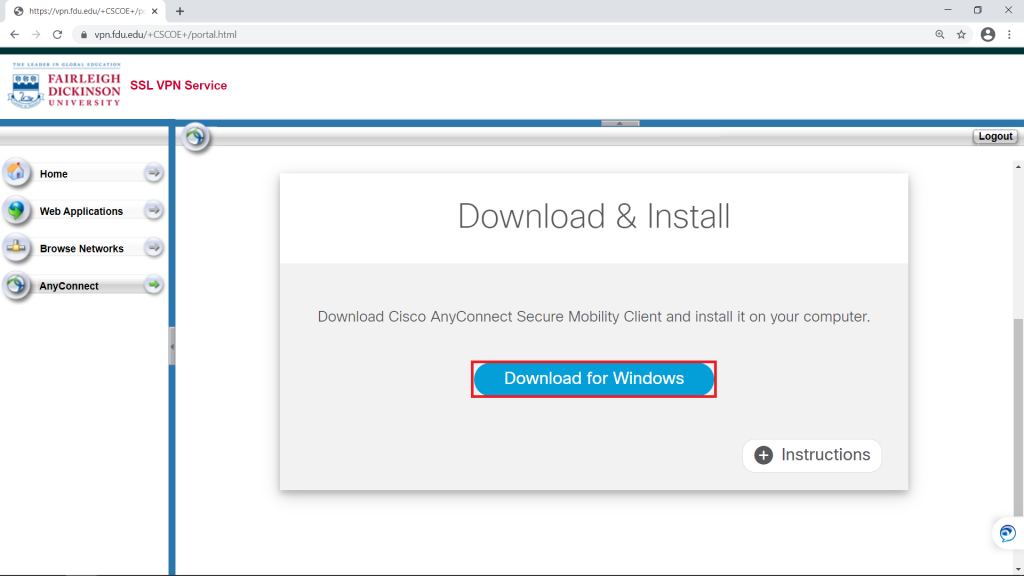
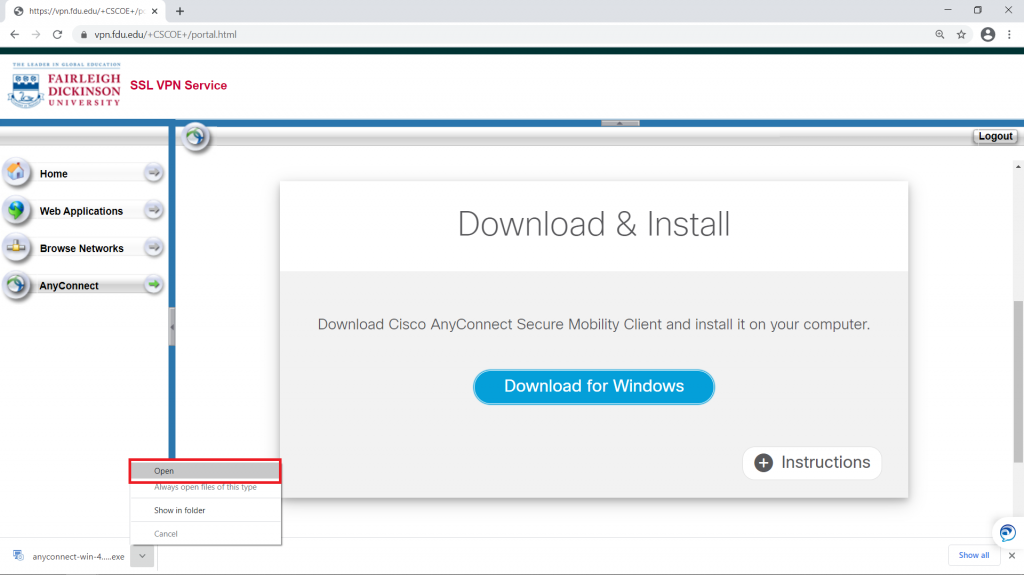
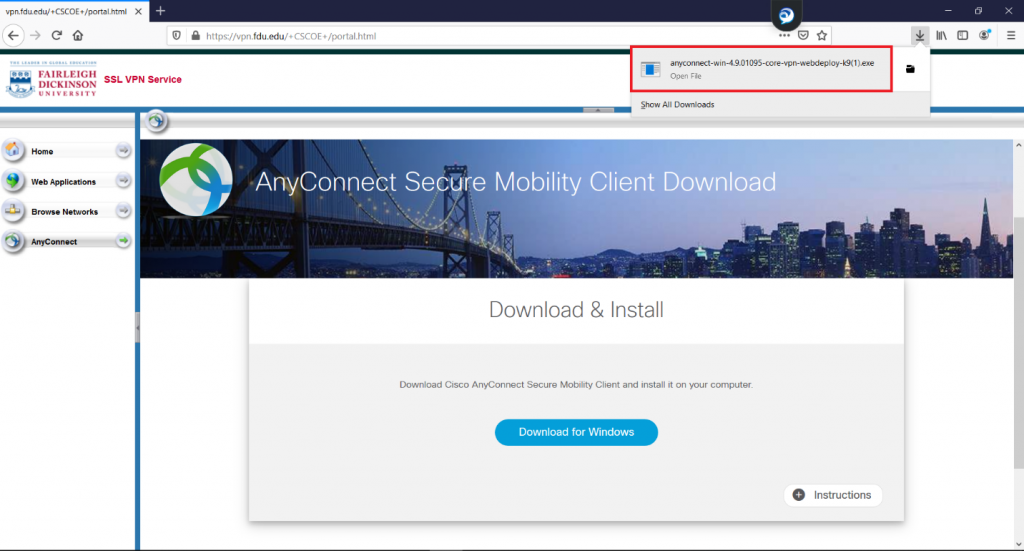
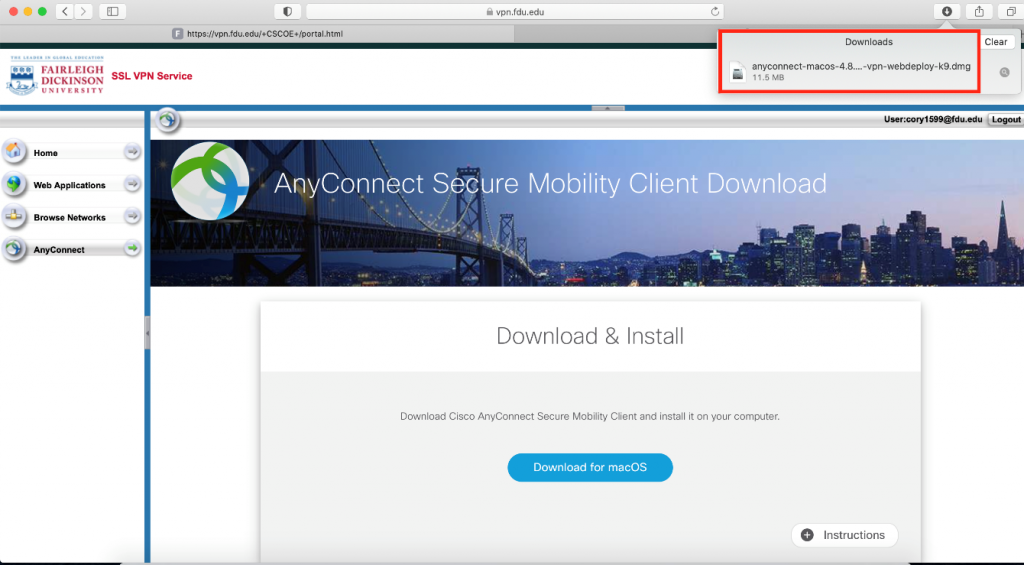
- Download the VPN applet by clicking on “Download for Windows” or “Download for macOS” depending on your operating system. The browser will then download the VPN software client. When finished downloading, click on the file and select “open” within your browser
Chrome
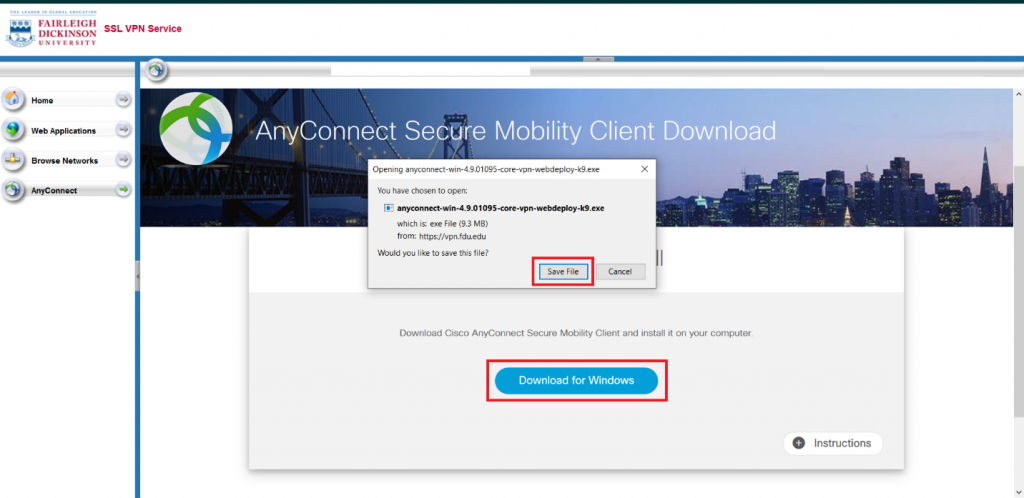
Firefox
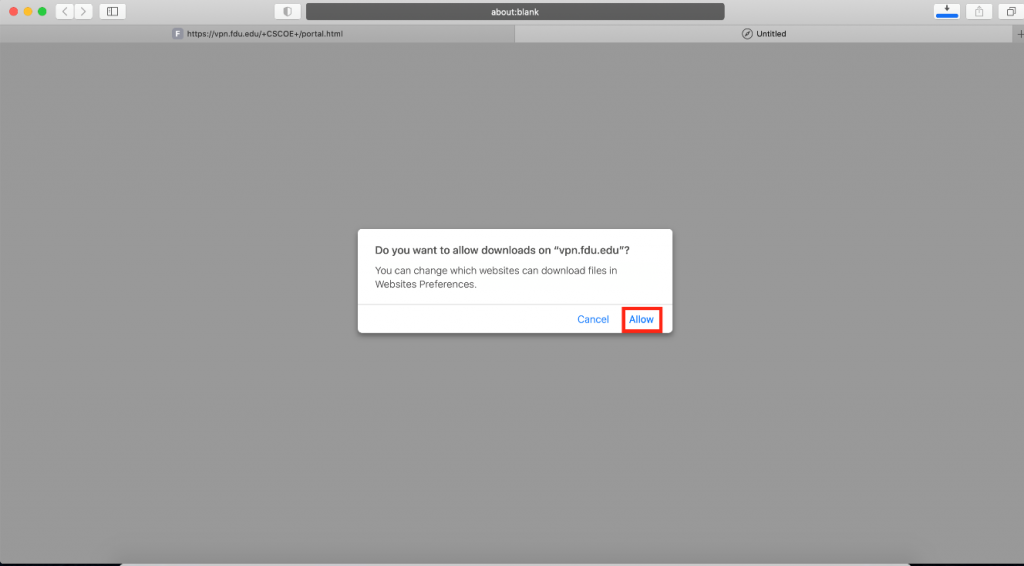
Safari
The browser will open a new window asking for permission to download the applet, click on “Allow”. When finished downloading, double click on the file to open the installation package and start the installation process.
- Follow the steps prompted to accept all changes and grant requested permissions to install FDU VPN software. Note, Java Runtime Environment software may also need to be installed. A copy of the software download will be prompted to be installed or can be accessed using the link below:
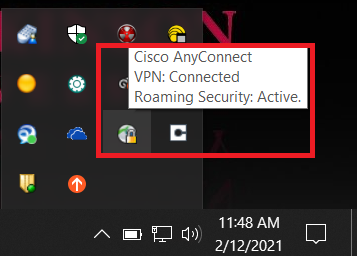
- The installation will continue, and an icon for the “Cisco AnyConnect Secure Mobility Client” with a “lock” icon will appear in your system tray once the installation is complete
- Log into your computer
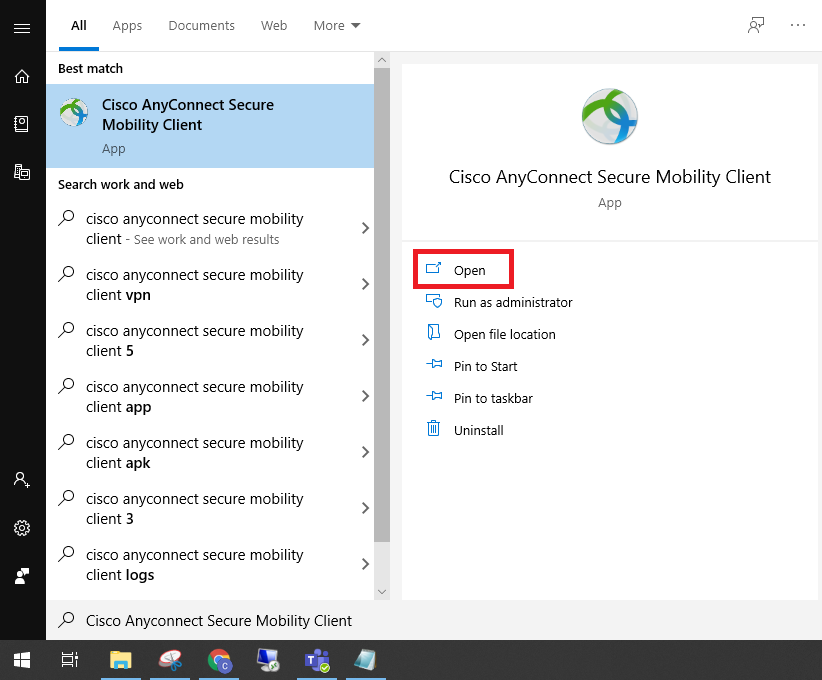
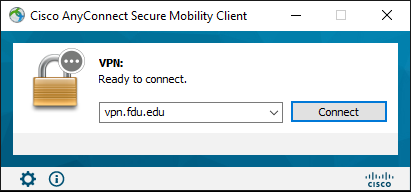
- Launch the Cisco AnyConnect Secure Mobility Client from the Start Menu. Ensure the address “vpn.fdu.edu” is entered into the corresponding text box and then press the “Connect” button
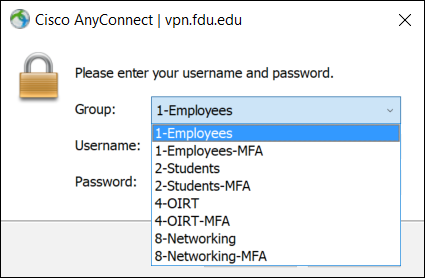
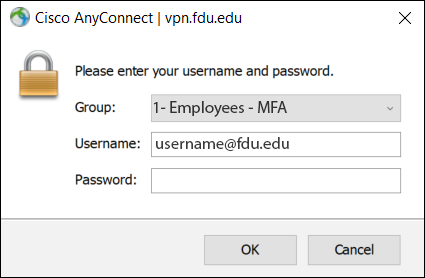
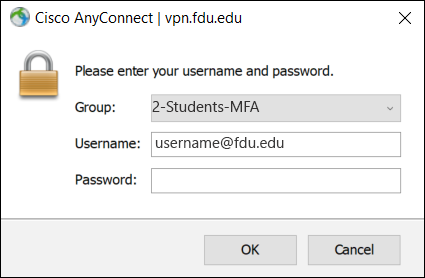
- Select your correct Group name on the dropdown menu, then enter your FDU NetID username and current FDU NetID password in the corresponding boxes. Click “OK“
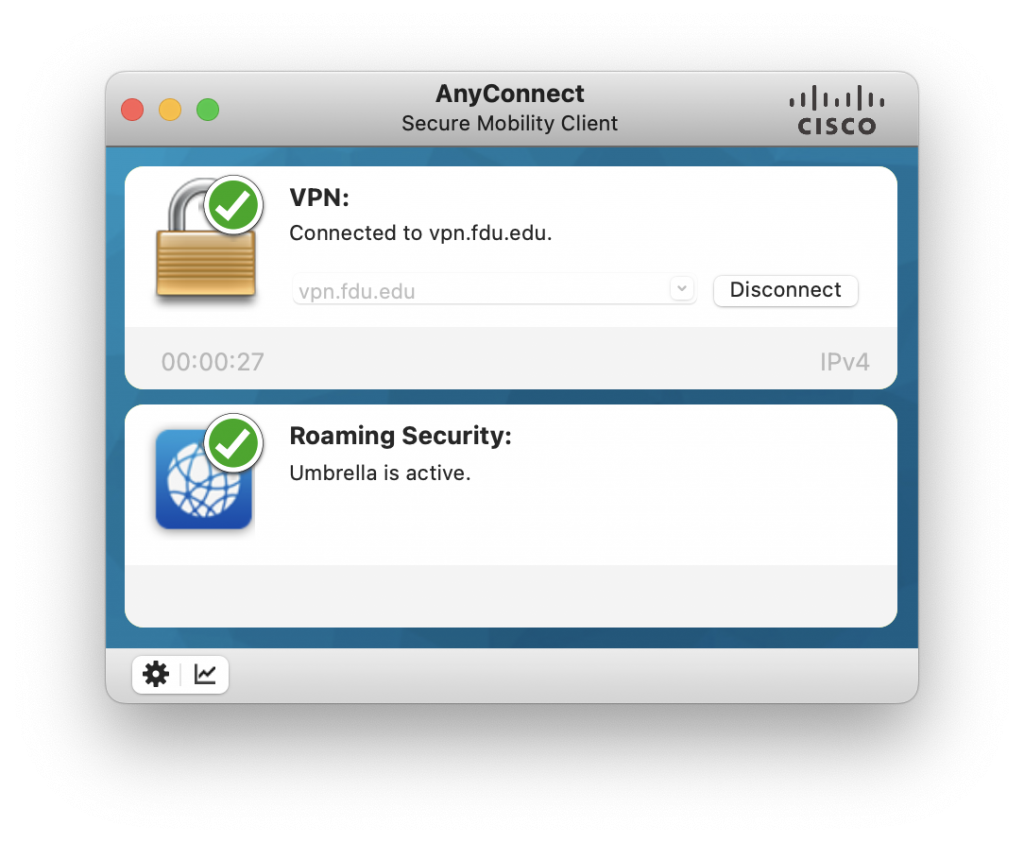
- Ensure a successful connection was made by checking on your system tray at the bottom right portion of your screen, or if on macOS, the client application window will display a screen check over the lock icon
The following instructions are the same for both Windows and macOS users.
- Register with Duo MFA
- If you are an existing Duo user, please skip to Step 2
- For new Duo users, please follow the guide below for registering your DUO Account
- Launch the “Cisco AnyConnect Secure Mobility Client” from the Start Menu or your Mac’s application folder if on macOS
- Ensure the address “vpn.fdu.edu” is entered into the corresponding text box and then click the “Connect” button
- Select your correct Group name on the dropdown menu
- Enter your FDU NetID username and current FDU NetID password in the corresponding boxes. Click “OK”
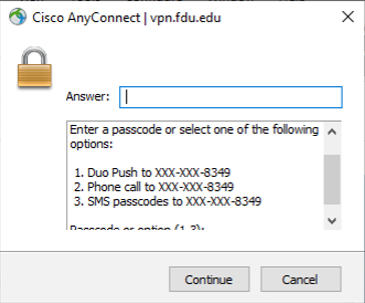
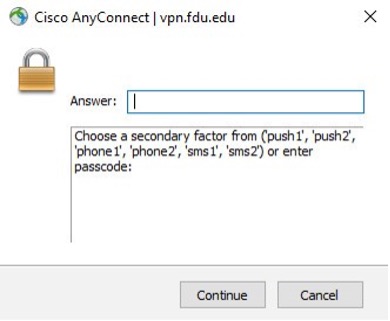
- In response, you’ll receive the Duo challenge dialog box. To use the preferred method type push in the Answer: dialog box, then click “Continue“
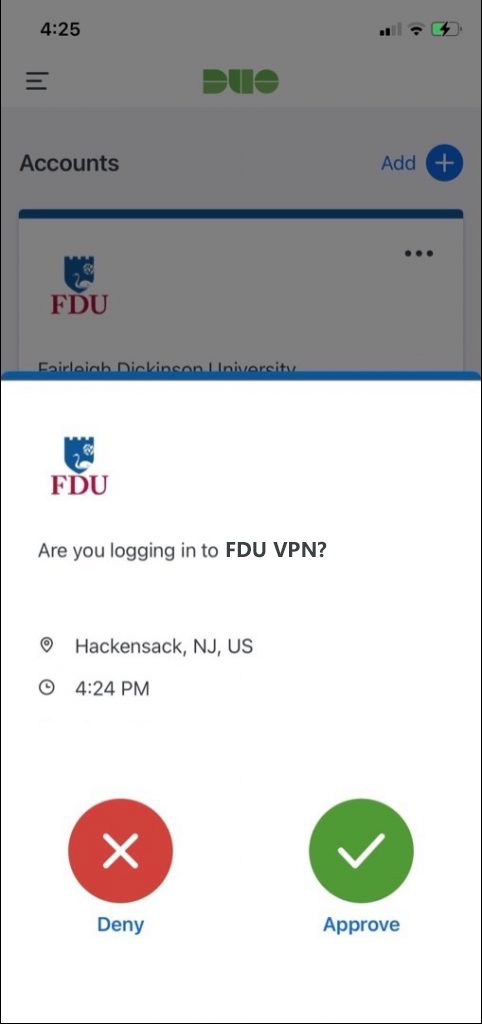
- Tap “Approve” on the Duo login request received at your phone
- Ensure a successful connection was made by checking on your system tray at the bottom right portion of your screen, or if on macOS, the client application window will display a screen check over the lock icon
Additional DUO Information
Users with multiple registered Duo devices will need to enter push1 for their primary device or push2 for their backup device. If you are unsure which device is your primary or secondary device, open the Duo Mobile app on your mobile device, click Fairleigh Dickinson University and enter the passcode displayed.
Additional DUO Authentication Options
| Type | Instructions |
|---|---|
| Push (Preferred) | Push a login request to your phone (if you have Duo Mobile installed and activated on your iOS or Android device). Review the request and tap “Approve” to log in. |
| Passcode | Open the Duo Mobile App. Tap “Fairleigh Dickinson University” and the passcode will be displayed, or contact the SAMI Service Desk for a passcode. |
| Phone | Have Duo call your phone to authenticate your login.(Users with multiple devices will need to include a number indicating desired device i.e. Phone2). This option is only available to Faculty, Staff and approved Students. |
| SMS | Have Duo text a passcode to your phone. (Users with multiple devices will need to include a number indicating desired device i.e. SMS2). NOTE: This option is only available to Faculty, Staff and approved Students. |
Additional Resources for Cisco DUO

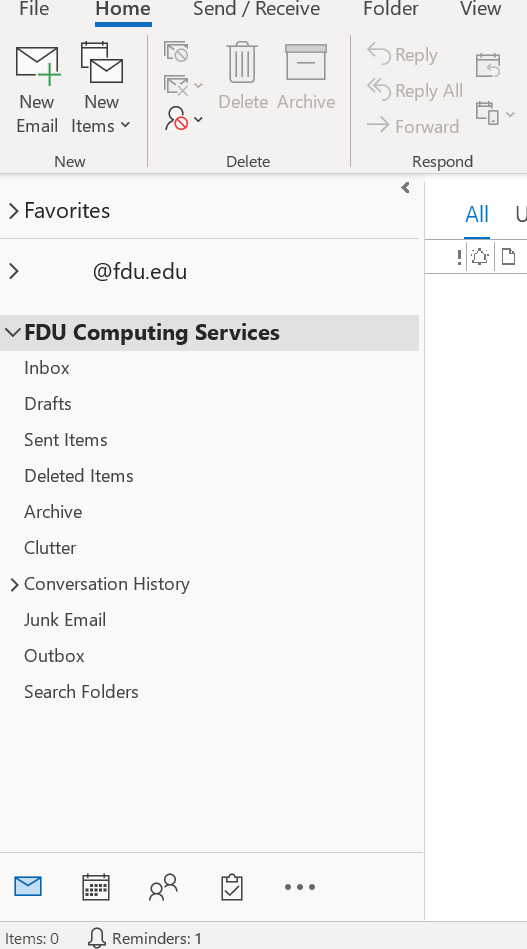


 Email
Email 

