A shared mailbox makes it easy for a group of people to read and send emails from one public email address, like info@fdu.edu. When a person in the group replies to a message sent to the shared mailbox, the email appears to be from the shared address, not from the individual user. Shared mailboxes can also be used to provide a shared calendar, allowing multiple users to schedule and view calendar tasks.
Request Access to an FDU Shared Mailbox
Users can request a new shared mailbox by completing and submitting the “Distribution Group/Shared Mailbox Request” form found below. Users needing access to a specific FDU shared mailbox account may request access by reaching out to the shared mailbox owner. To fulfill this request, the shared mailbox owner will open a support case with the SAMI Service Desk.
Add a Shared Mailbox to Outlook
Windows
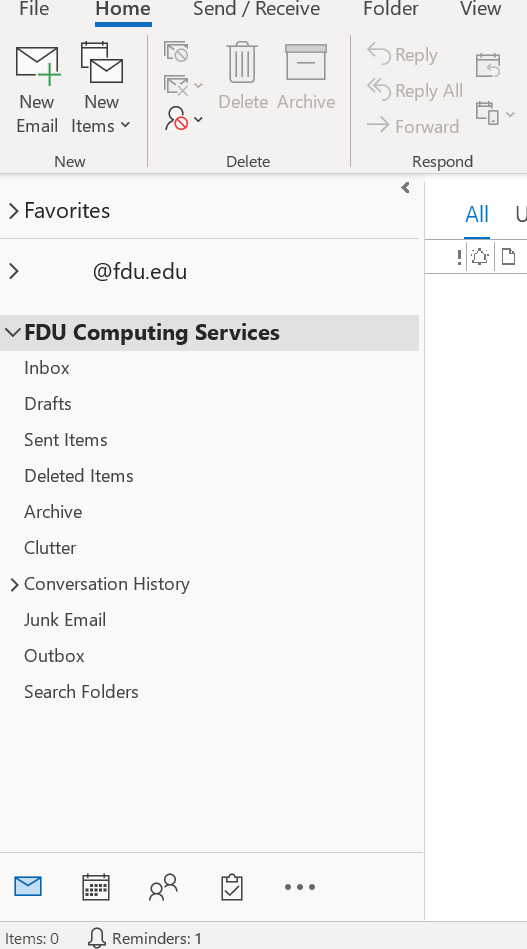
- The shared mailbox should automatically display in your folder pane on the left-hand side of your Outlook application within 24 hours of its creation. Closing and restarting the Outlook application maybe necessary if you do not see it after 24 hours
Note
Before you can use a shared mailbox, the Microsoft 365 admin for the university has to add you as a member.
If you cannot open a shared mailbox, please contact the SAMI Service Desk and open a support request.
close
macOS
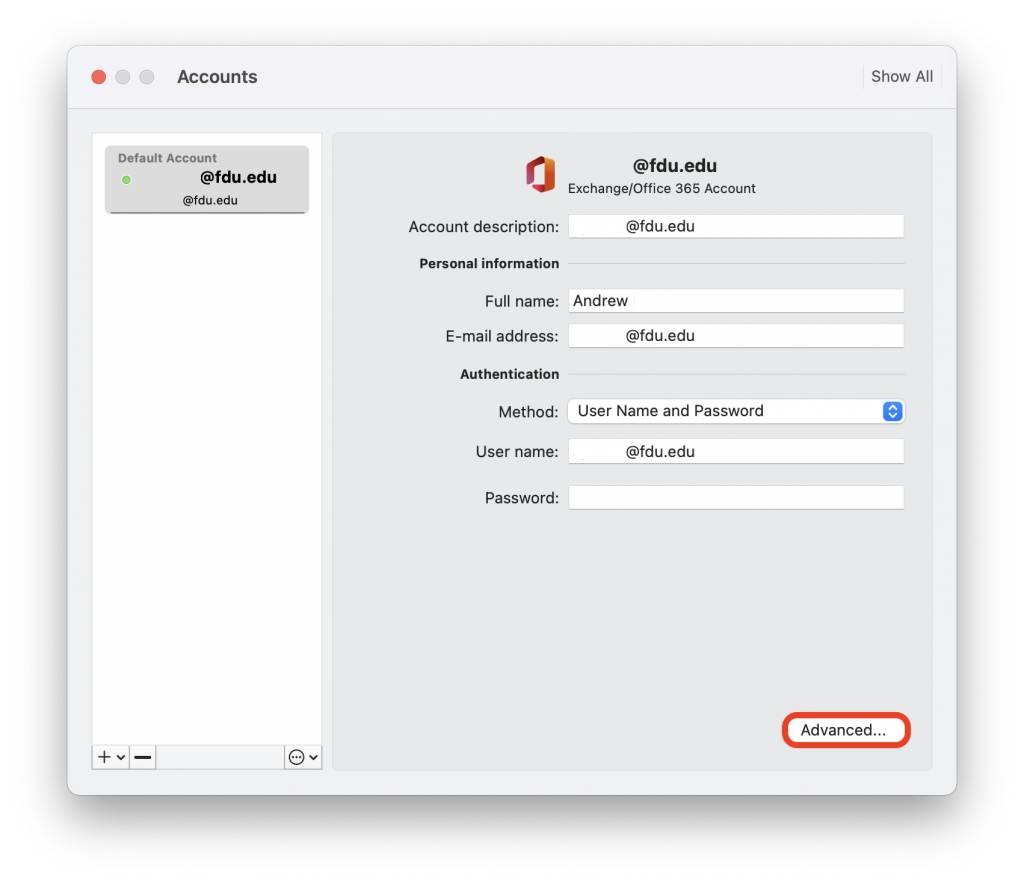
- Select Tools from the Outlook menu bar at the top of the screen, then choose Accounts
- Select the Advanced… tab
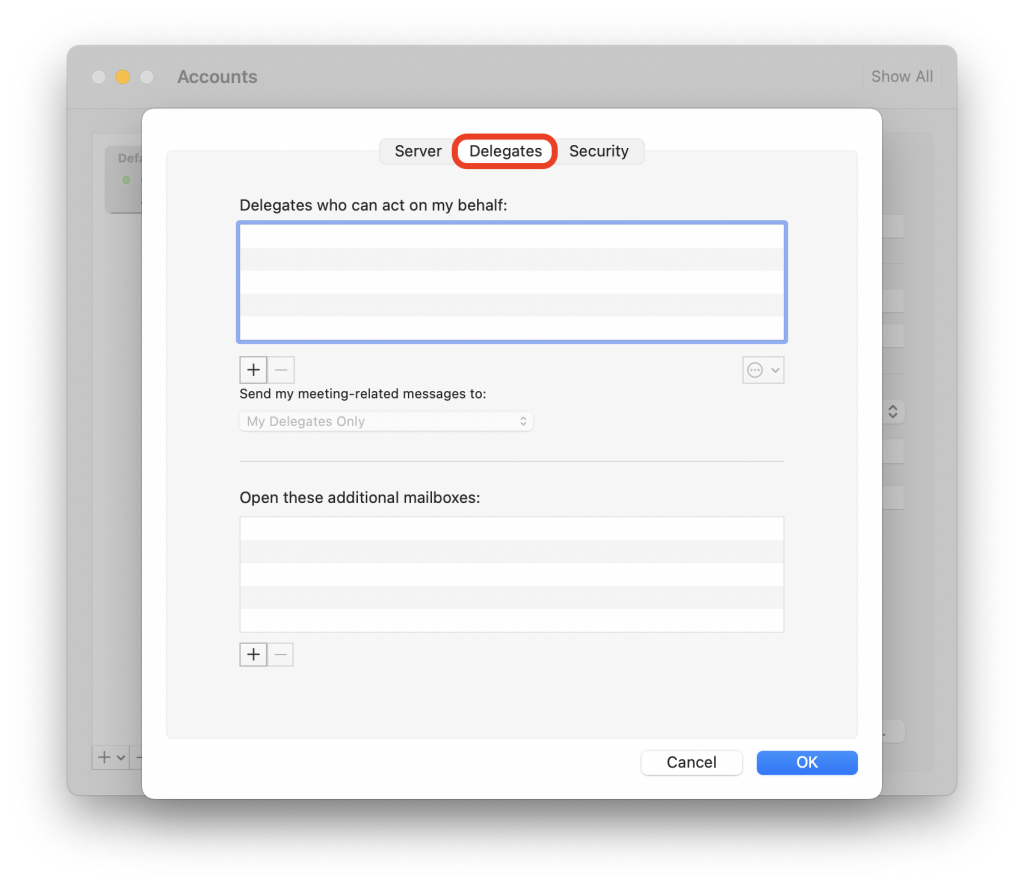
- Select the Delegates tab
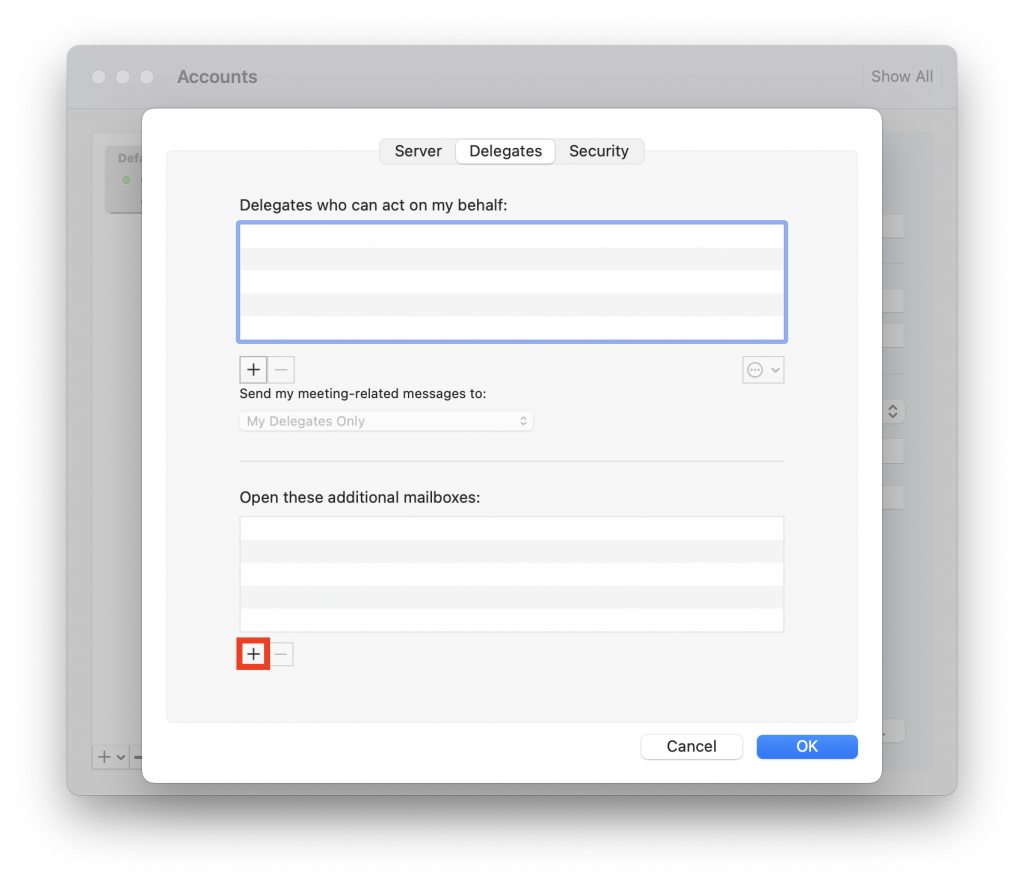
- Click the + button, located under Open these additional mailboxes:
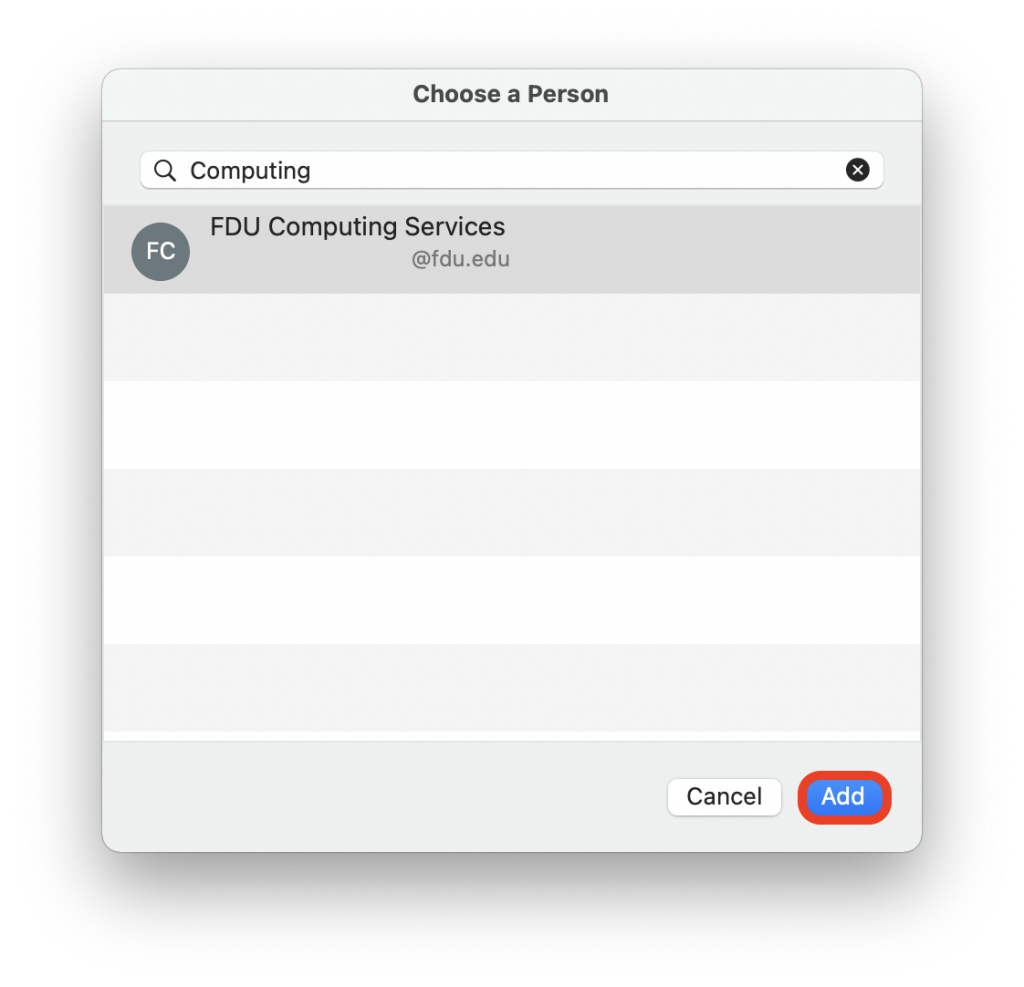
- Type or select your correct shared mailbox, and then select Add
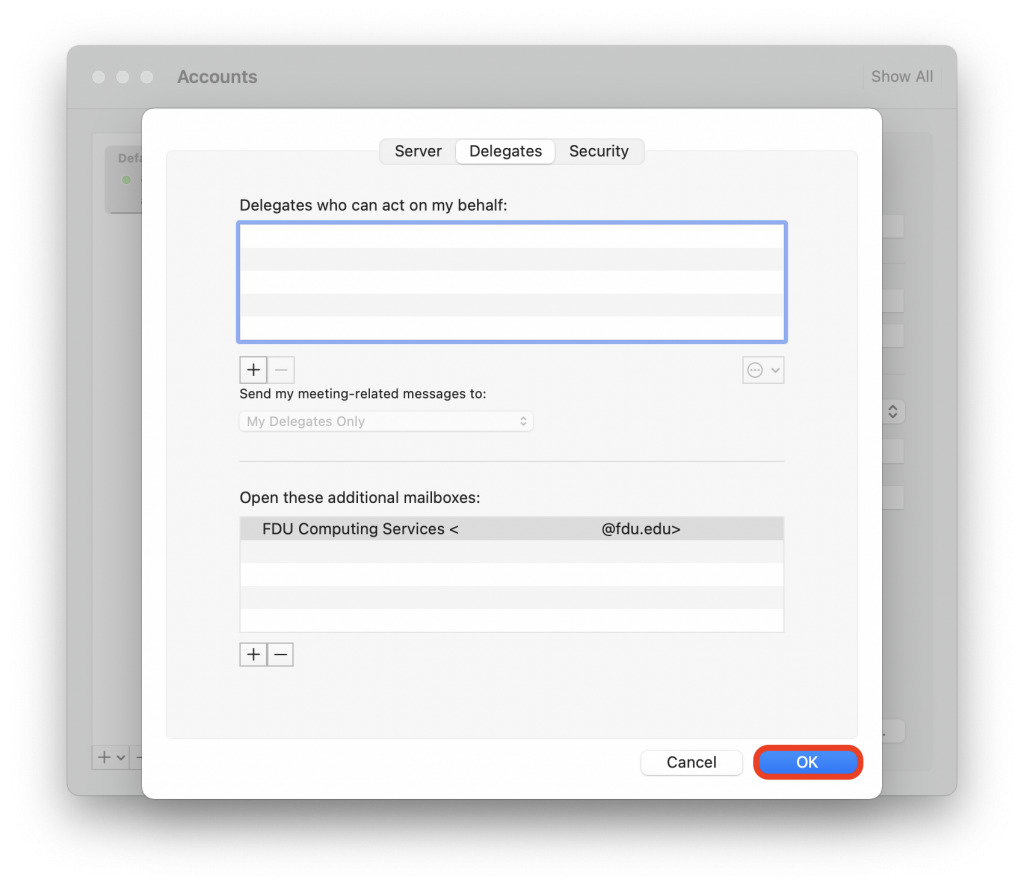
- Select the OK tab
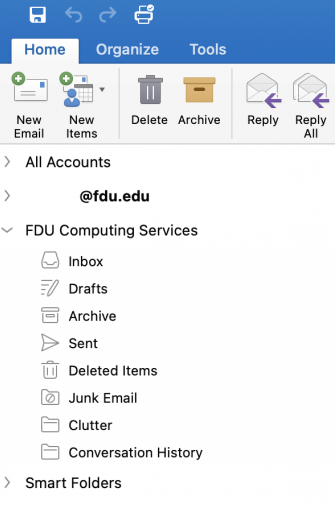
- You should now see your shared mailbox listed on the left-hand side of your Outlook email application window
Note
This is a one-time process only. You do not need to follow the above steps to add this to Outlook on your macOS device again.
If you cannot open a shared mailbox, please contact the SAMI Service Desk and open a support request.
New Outlook version on macOS
Some macOS users may take advantage of the “New Outlook” version of the Outlook application. You can identify which Outlook version you are using by locating the “New Outlook” slider tab button on the top right of the application.
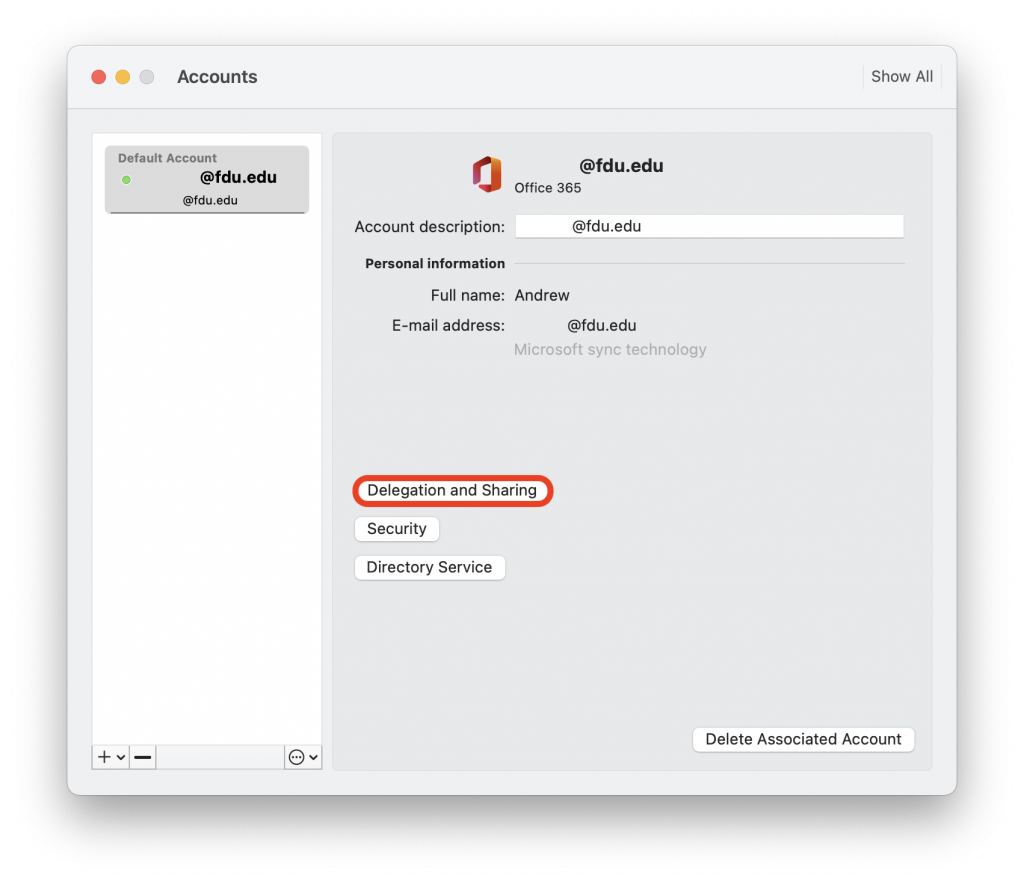
- Select Tools from the Outlook menu at the top of the screen, then choose Accounts
- Select the Delegation and Sharing tab
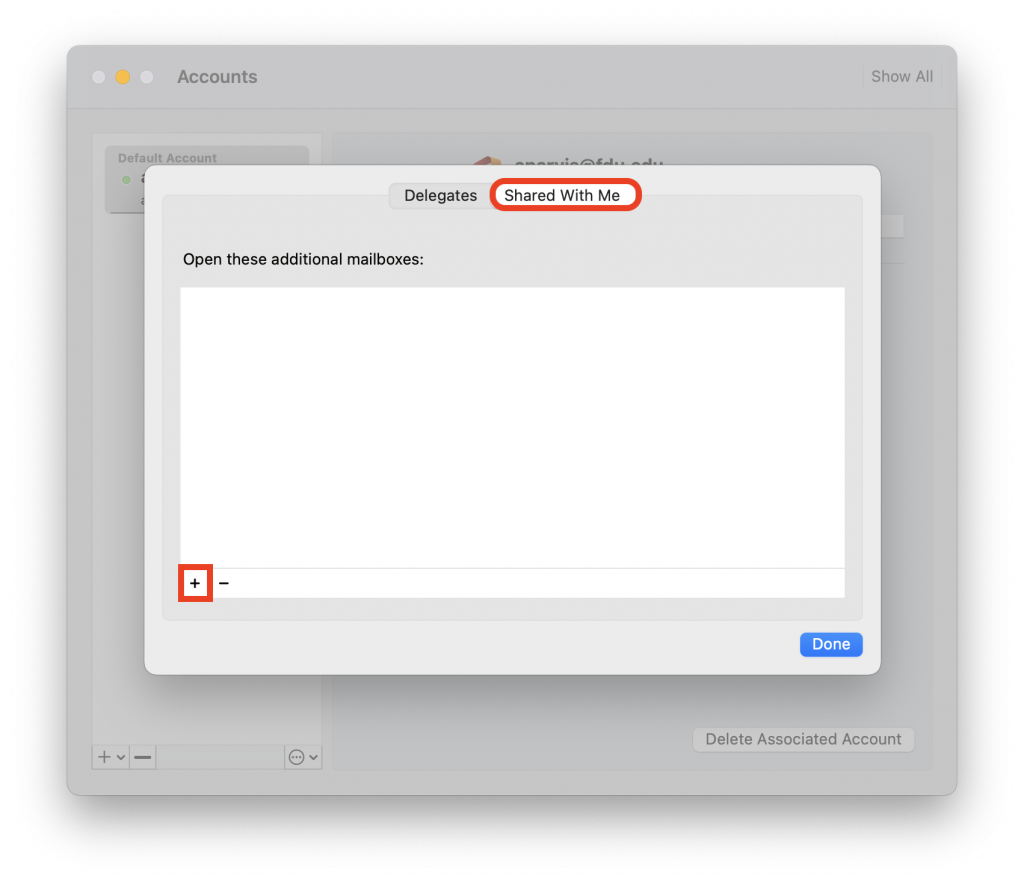
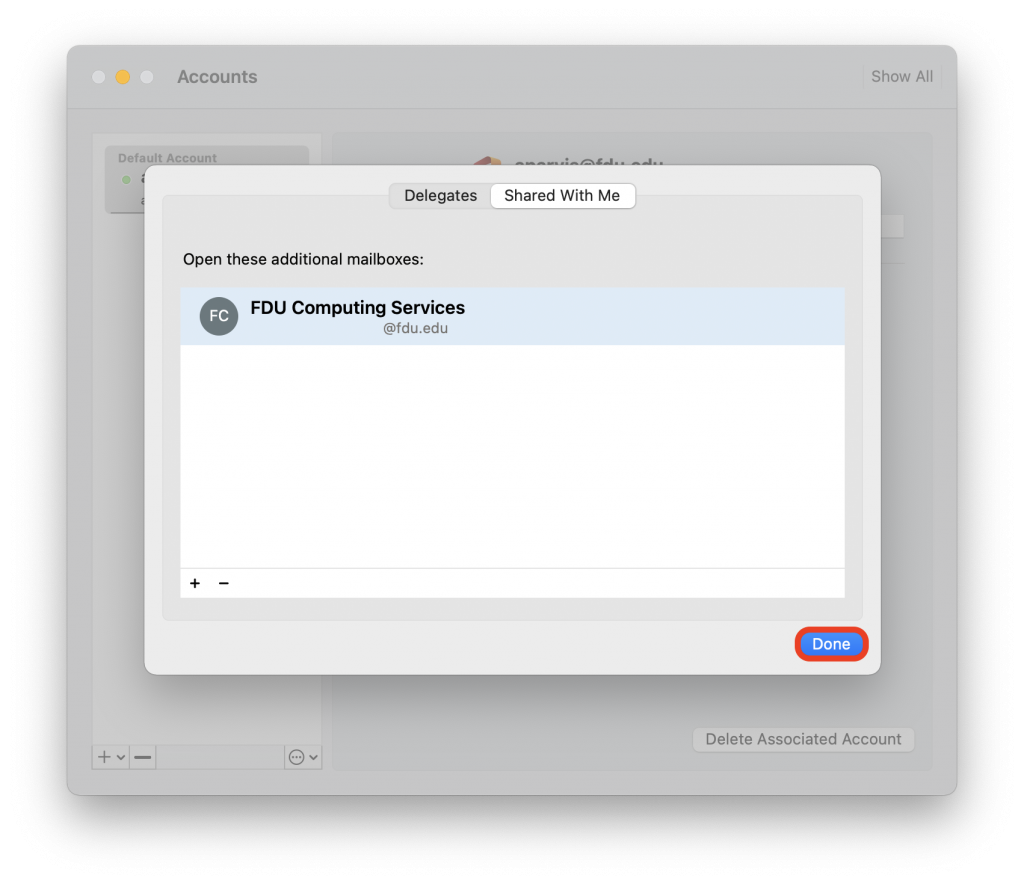
- Choose the Shared With Me tab and then select the + button
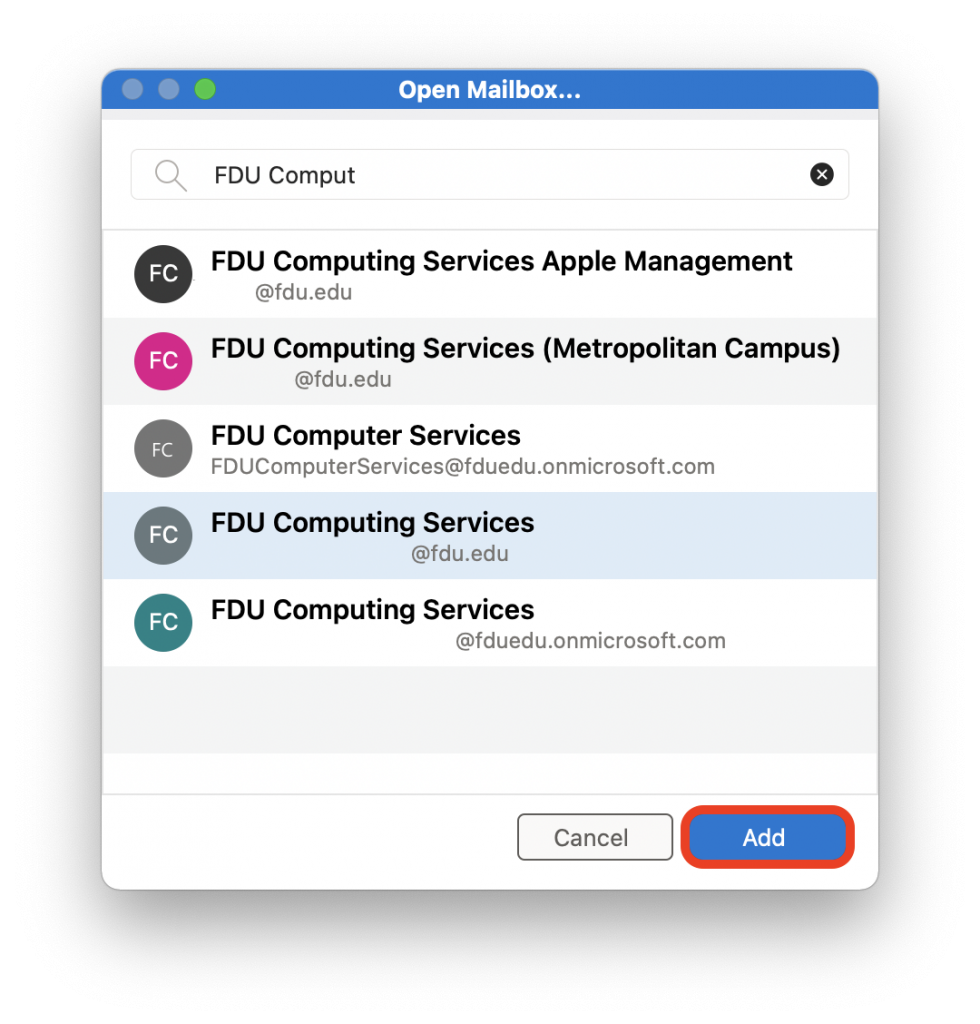
- Begin to type the shared mailbox name or its email address, choose the correct shared mailbox before selecting Add, and finally Done when finished
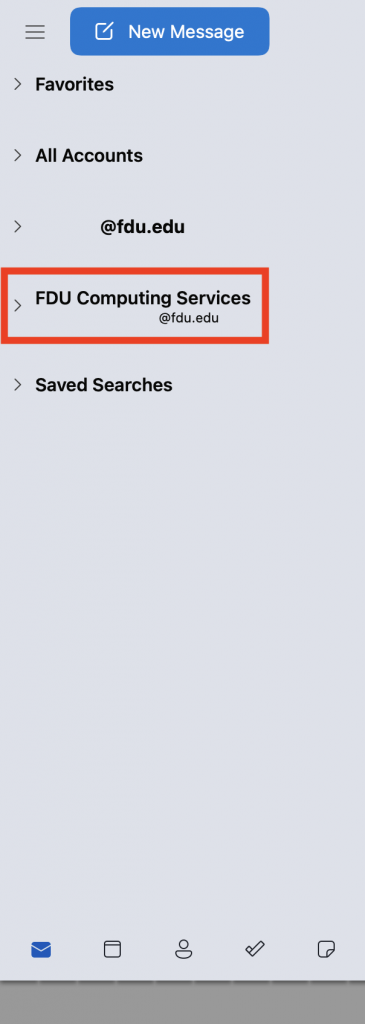
- You should now see your shared mailbox, located on the left-hand side of your Outlook application window
Note
This is a one-time process only. You do not need to follow the above steps to add this to Outlook on your macOS device again.
If you cannot open a shared mailbox, please contact the SAMI Service Desk and open a support request.
close
office365.fdu.edu / Outlook Web App
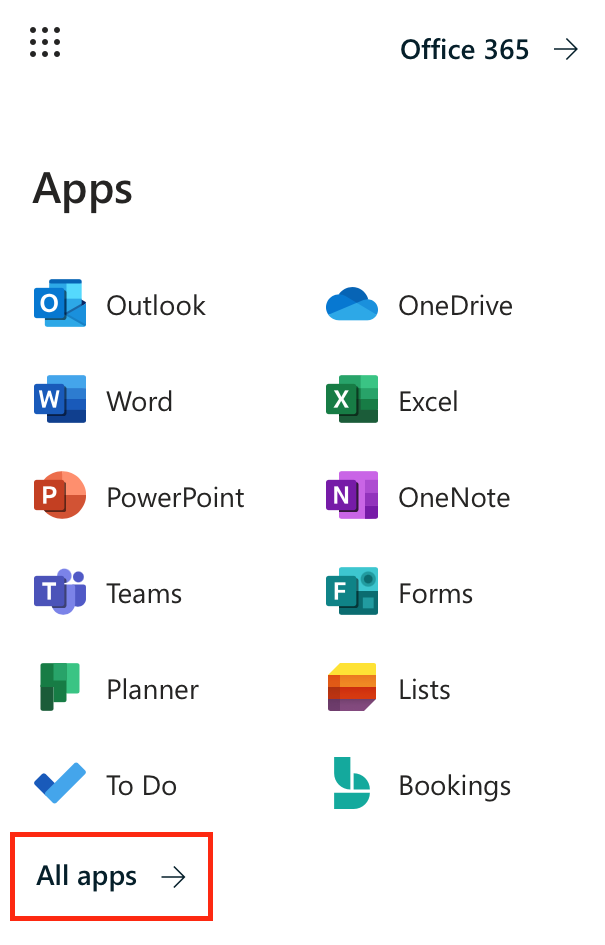
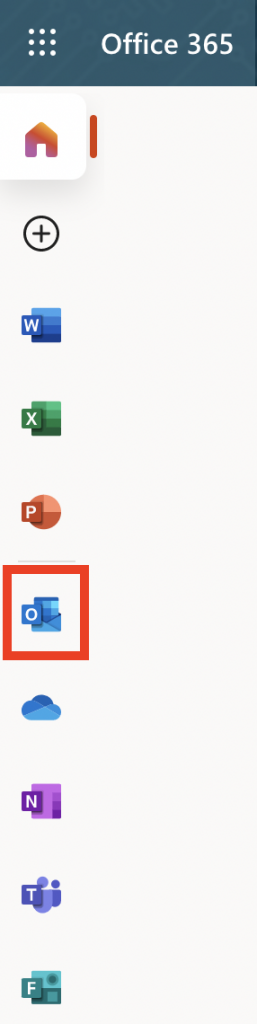
- Navigate to the FDU Office 365 Portal webpage
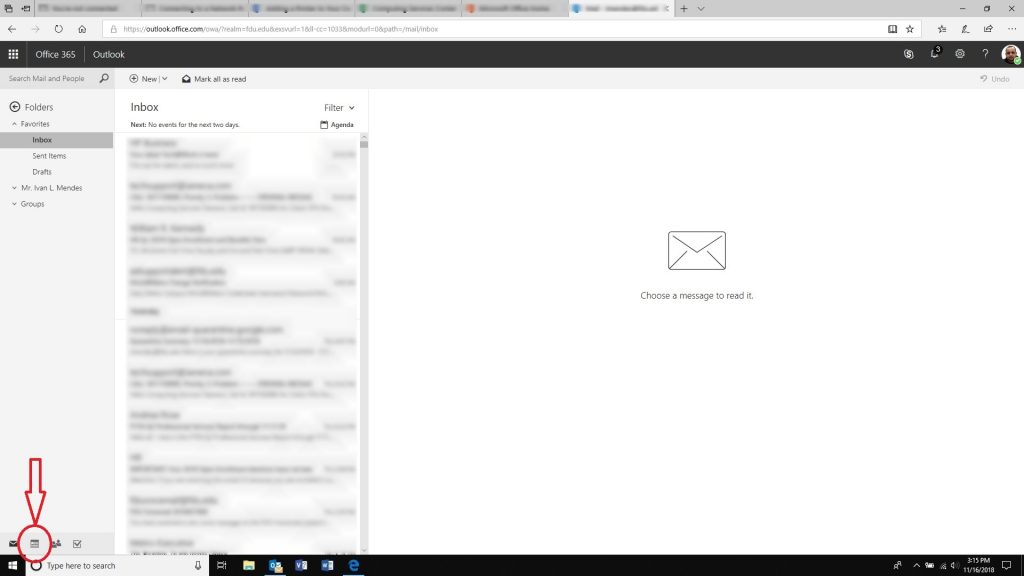
- Select the Outlook web app icon, located on the left-hand side of your display
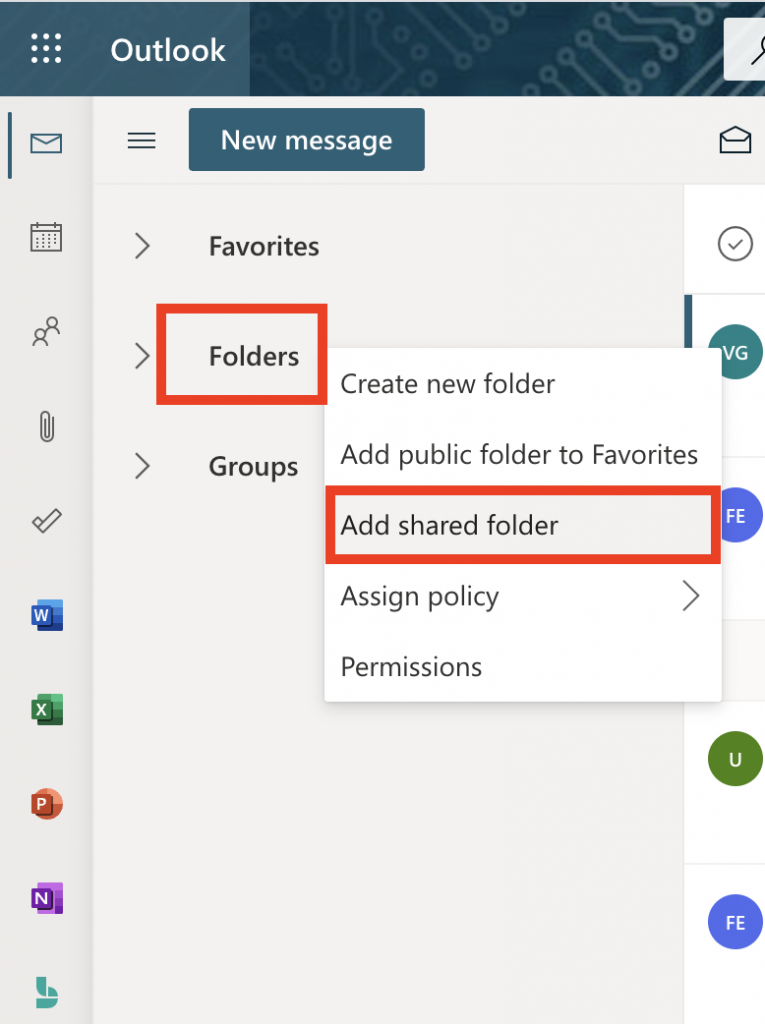
- Right-click on the Folders option located on the left side of the menu; a small drop-down menu should display. Select Add shared folder
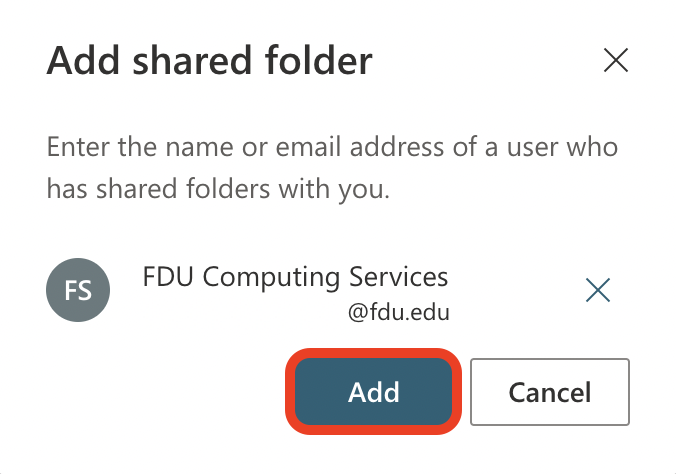
- Begin typing the email address for the shared mailbox, auto-populated suggestions will be displayed. Select the correct shared mailbox address and click Add
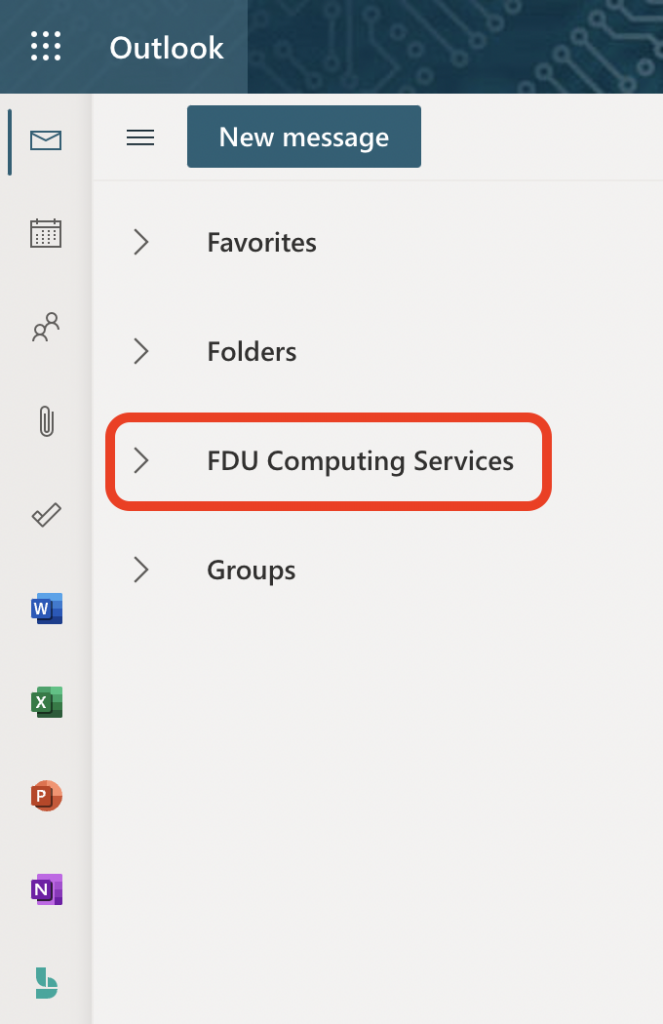
- You should now see the added shared mailbox located on left side of your Outlook web email window
Note
This was a one-time process. You do not need to follow the above steps to add this to your account again. You will automatically see the shared mailbox when you sign in to your account next time.
If you cannot open a shared mailbox, please contact the SAMI Service Desk and open a support request.
close
Android and iOS
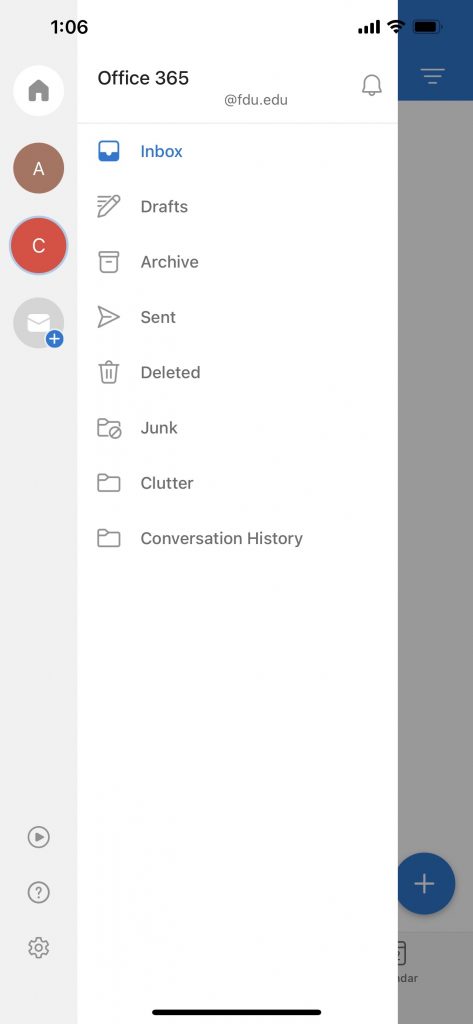
- Sign in to your primary FDU email account in the Microsoft Outlook for Android or iOS app
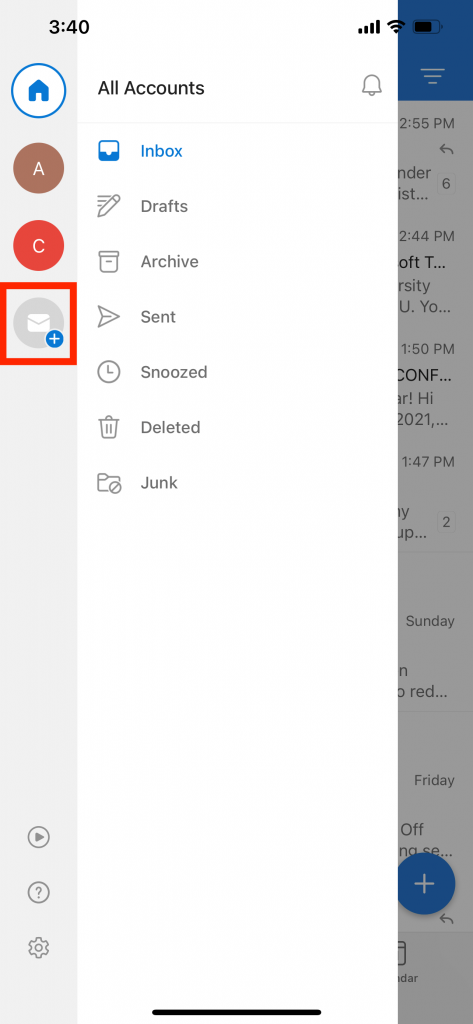
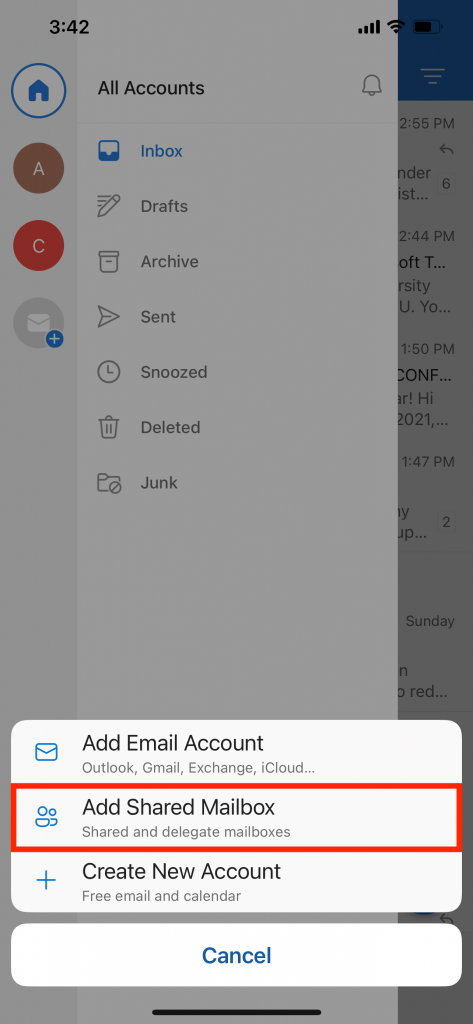
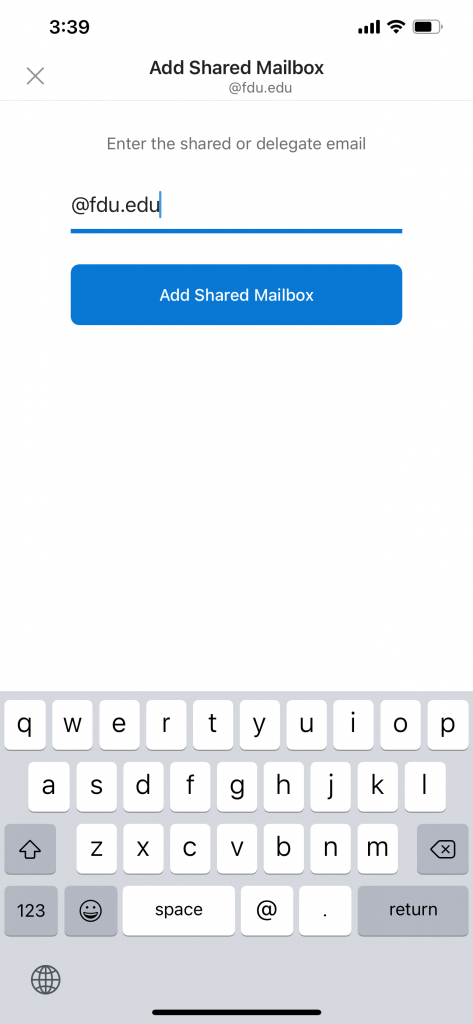
- Tap the Add Account button in the left navigation pane, then tap Add Shared Mailbox
- Enter the name of the shared mailbox and tap Add Shared Mailbox when finished
Note
If you have multiple accounts in Outlook Mobile, select the account that has permissions to access the shared mailbox.
- After the account setup process completes, the shared mailbox will display in your account list within the Outlook for Android or iOS app
Tip
To remove a shared mailbox, go to Settings > Accounts. Then tap on the shared mailbox and select Delete Account.
close
Send Email from a Shared Mailbox
Windows / macOS
- Open Outlook
- Choose New Email to start a new message
- If you don’t see the From field at the top of your message, choose Options, and select the From tab
- Click From in the message, and change to the shared email address
Note
If you don’t see your shared email address displayed, choose “Other email address…” Enter the full email address for the shared mailbox in the blank or search for the email address by clicking “From” tab. Click “OK” when finished.
- Finish typing your message and then choose Send
Note
From now on when you want to send a message from your shared mailbox, the address will be available in your “From” drop down list.
Whenever you send a message from your shared mailbox, your recipients will only see the shared email address in the message.
close
office365.fdu.edu / Outlook Web App
- Choose New Message
- Choose From and change to the desired shared email address
Note
If you don’t see your shared email address displayed, choose “Other email address…” Enter the full email address for the shared mailbox, then select the appropriate shared email address from the auto populated list when finished.
- Finish typing your message and then choose Send
close