
Two-factor Authentication
Two-factor authentication also referred to as multi-factor authentication, provides an additional layer of security when logging in to a website. Two-factor authentication is becoming the standard in cybersecurity. Google, Apple, and other services all have their two-factor authentication methods. In short, passwords are no longer sufficient in protecting our sensitive data; we’ve got to add another layer of security to our accounts.
FAQ’s for DUO Authentication
-
What are my authentication options?
- DUO Push – if you have the DUO Mobile App installed on your smartphone or tablet, you can receive a push notification. From the app, you can approve or deny the login attempt.
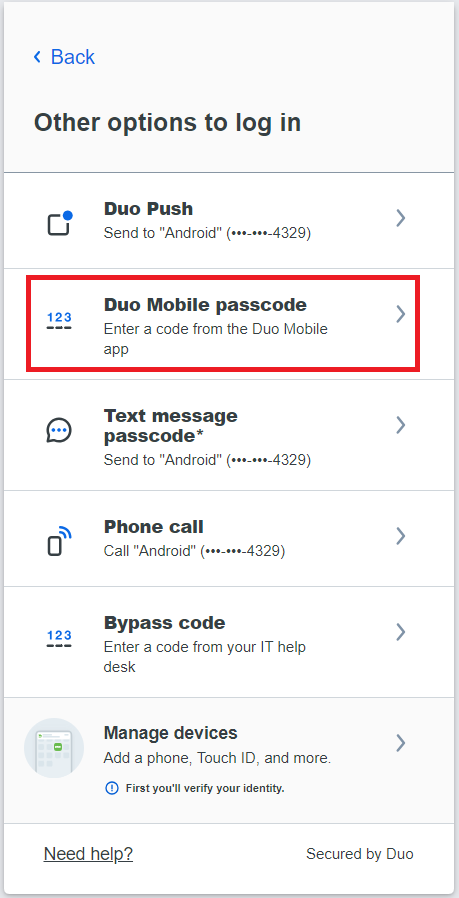
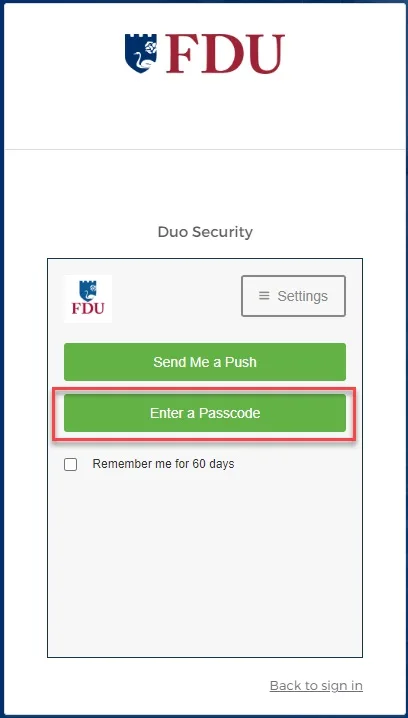
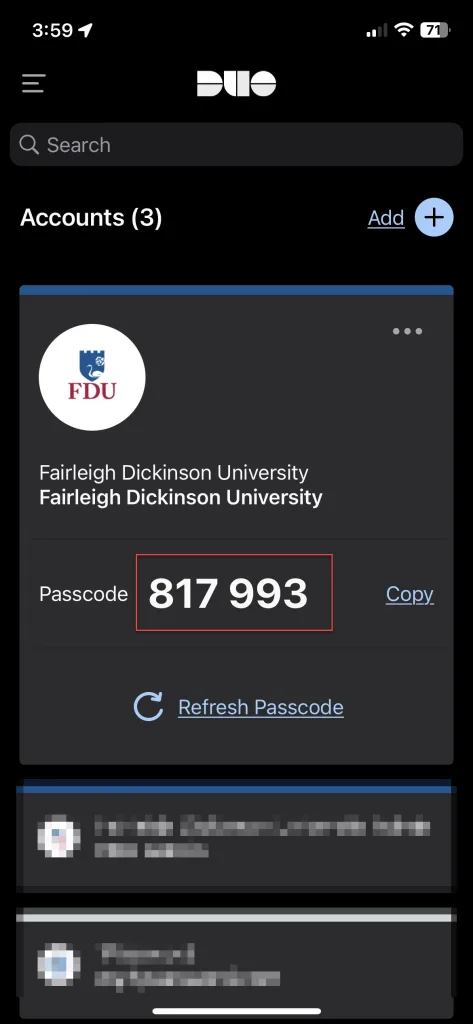
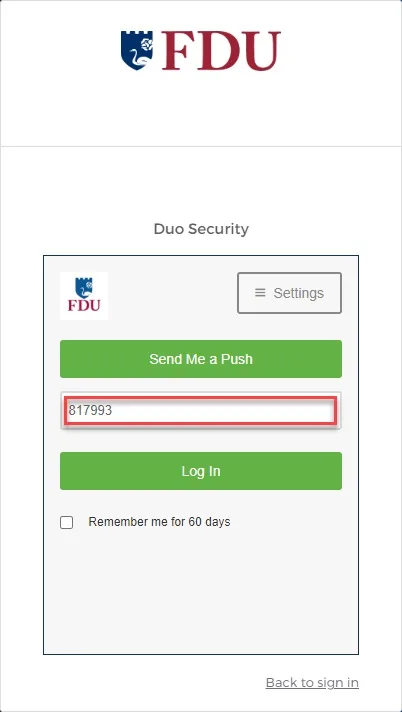
- Passcodes via DUO Mobile App – If you have the DUO Mobile app installed, you can receive a single passcode by tapping the FDU logo in the mobile app. This code must be used immediately.
- Passcodes via SMS (Faculty/Staff Only) – users can receive a one-time use code via text message. To get you a one-time code, click Enter Passcode, then click on the blue button “Text me new codes.” These codes do not expire, and they are valid until used. You do not have to have a smartphone for this option.
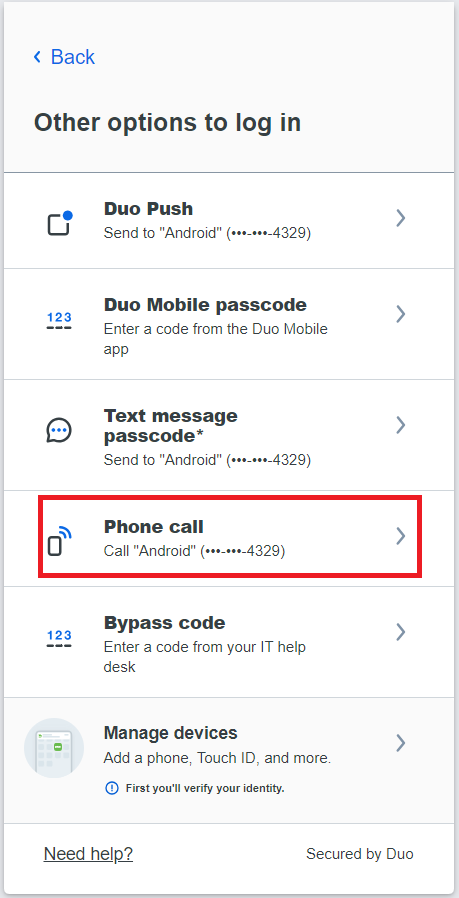
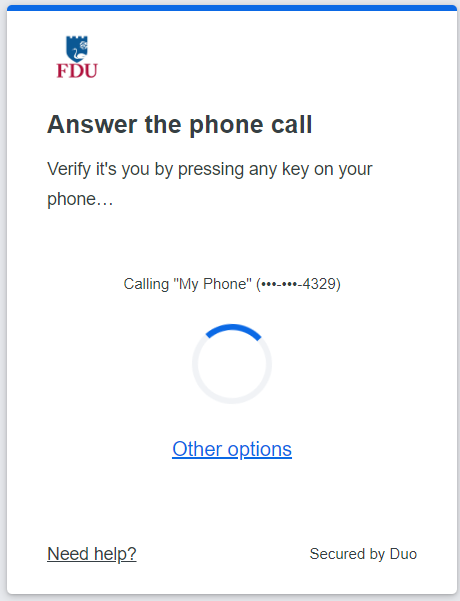
- Phone Call (Faculty/Staff Only) – you can receive a phone call on your mobile phone or landline phone. The call will give instructions on approving or denying the login attempt.
-
Is DUO Mandatory?
DUO is required for all FDU Staff, Faculty, and Students.
-
What are Passcodes?
If you opt-out of the DUO Mobile Application push notifications, there are a variety of passcode options to utilize as your second verification method.
- Passcodes via DUO Mobile App – If you have the DUO Mobile app installed, you can receive a single passcode by tapping the FDU logo in the mobile app. This code must be used immediately.
- Passcodes via SMS (Faculty/Staff Only) – users can receive a one-time use code via text message. To get you one-time code click Enter Passcode, then click on the blue button “Text me new codes.”These codes do not expire, and they are valid until used. You do not have to have a smartphone for this option.
- Temporary Passcodes –If you do not have your device with you, you can obtain temporary passcodes by calling the SAMI Service Desk. Each of the passcodes can only be used once, and will expire in 7 days.
-
What does “Remember This Device for 60 Days” mean?
Selecting this option will allow you to bypass DUO authentication for the next 60 days. This only works if cookies are enabled, and you are logging in from the same computer and browser. You will still be prompted to verify once – with your username and password. You will not be able to access your settings on that particular browser during the 60 days. Please note that if you have tools or policies running that regularly delete or clean cookies, the remember me feature will not work. If you do need to access your settings (perhaps to add another device), just try another browser or visit the FDU Self-Service Portal. Remember me will not work if your browser is set to private browsing mode.
-
How does “Remember This Device for 60 Days” work?
The remember me feature relies on browser cookies. For remember me to work, your Internet browser must allow cookies to be stored. Visit your browser content settings to ensure cookies are being stored. Some departments on campus do not allow cookies to be stored. If the remember me feature does not work on your browser, check with desktop support in your area.
-
Forgot your device?
If you do not have your device with you, you can obtain a batch of temporary passcodes. To obtain a temporary passcode, call the Fairleigh Dickinson University Technical Assistance Center (UTAC). Each of the passcodes can only be used once and will expire in 7 days.
NOTE: If you have lost your device, please report it to the SAMI Service Desk. We want to ensure someone else does not maliciously authenticate your account with your device.
-
Who can use DUO?
DUO is available to all faculty,staff, and Students. At this time, DUO is not available to FDU retirees, past employees, or alumni.
-
Can I use DUO without using Wi-Fi or Cellular data?
Yes, the passcode option on the DUO app does not require WiFi or cellular connectivity, it even works on airplane mode. To use this option, visit the DUO app on your smartphone, and tap the key icon to obtain a passcode. Enter the passcode into the DUO prompt when logging into any website that requires DUO authentication.
-
What Applications are Using DUO?
DUO Authentication is required by any application the utilizes the university Single Sign-On (SSO) service. Examples of some websites that require DUO authentication are listed below.
- WebAdvisior
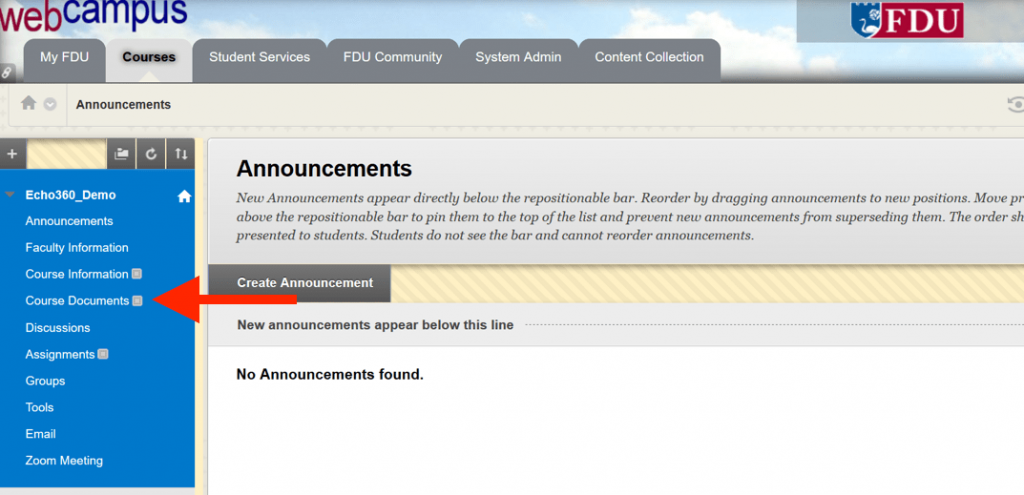
- WebCampus
- Office365 (Office365.fdu.edu)
- Blackboard
- Zoom
-
I stopped receiving Push Notifications on from DUO Mobile, how can I re-enable it?
You may have trouble receiving push requests if there are network issues between your phone and Duo’s service. Many phones have difficulty determining whether to use the Wi-Fi or cellular data channel when checking for push requests and simply turning the phone to airplane mode and back to normal operating mode again often resolves these types of issues, if there is a reliable internet connection available. Similarly, the issue may be resolved by turning off the Wi-Fi connection on your device and using the cellular data connection.
Check the time and date on your phone and make sure they are correct. If the date and time on your phone are manually set, try changing your device’s configuration to sync date and time automatically with the network.
iOS users can run a troubleshooting tool from within Duo Mobile version 3.32.0 or later. To run the tool:
- Open the Duo Mobile app on your iOS device and tap the Edit button in the top left of the accounts list screen, then tap the name of the account for you aren’t receiving push requests.
- Next, tap the Get Started button in the “Missing Notifications?” section of the “Account Details” screen.
- Duo Mobile performs the test. If any step fails, you’ll receive further troubleshooting suggestions. After taking the suggested actions, press “Run test again” to retry.
The steps that Push Troubleshooting performs automatically are as follows:
- Check device settings.
- Check internet connectivity.
- Check that the device can contact Duo’s cloud service.
- Attempts to send a test Duo Push notification.
Should none of these actions help, see the Duo Knowledge Base for additional iOS and Android troubleshooting steps.
If you can’t get Duo Push working on your own, you can log in with a passcode generated by the Duo Mobile app and send a new activation link to your phone.
If you’ve tried the suggestions here but can’t get Duo Push working or reactivate your device yourself, please contact the SAMI Service Desk.
-
What if I get a notification that someone is trying to access my account, but I didn’t request it?
Press the red “X“ to deny access to your account, then promptly change your FDU NetID password.
-
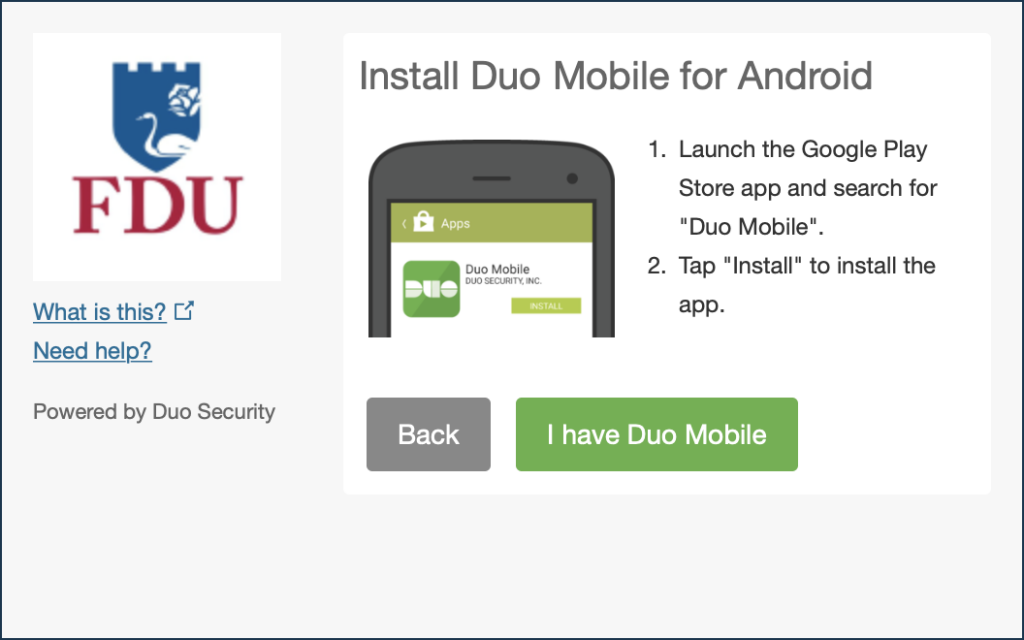
Is the DUO app available for iOS and Android devices?
Yes! Visit the app store on your smartphone to download DUO Mobile.
NOTE: Google Play Services are required to receive push notifications on Android. Users without Google Play Services installed will have to “fetch” by swiping down in the DUO Mobile app.
-
What if I get a new smartphone or device?
- If your phone number has not changed, login to FDU Self-Service Portal then choose the “Call my Phone” option.
- Choose your device from the list, and then click “Device Options” next to your phone.
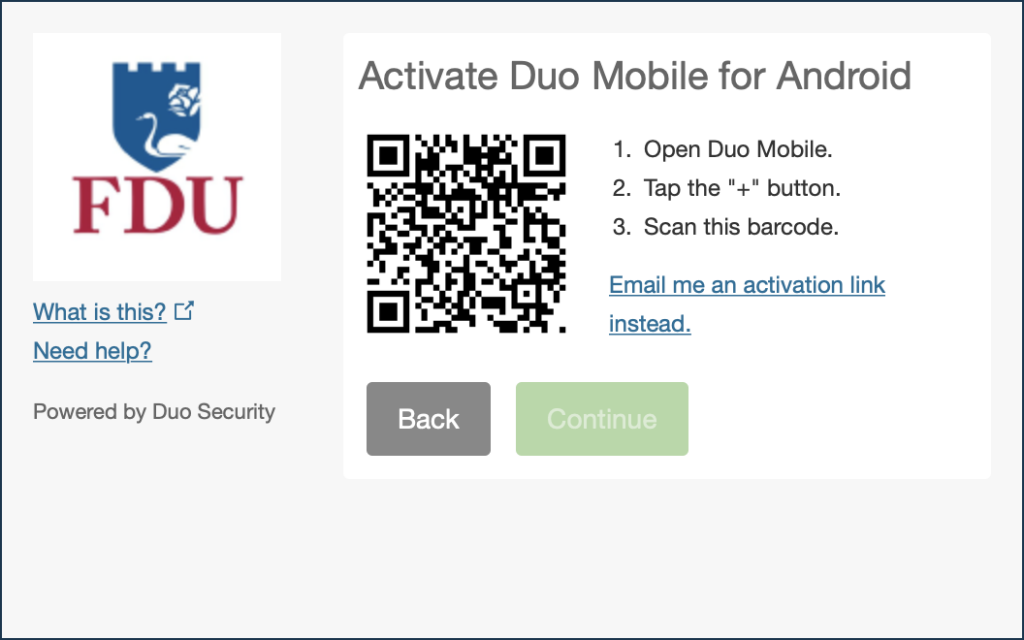
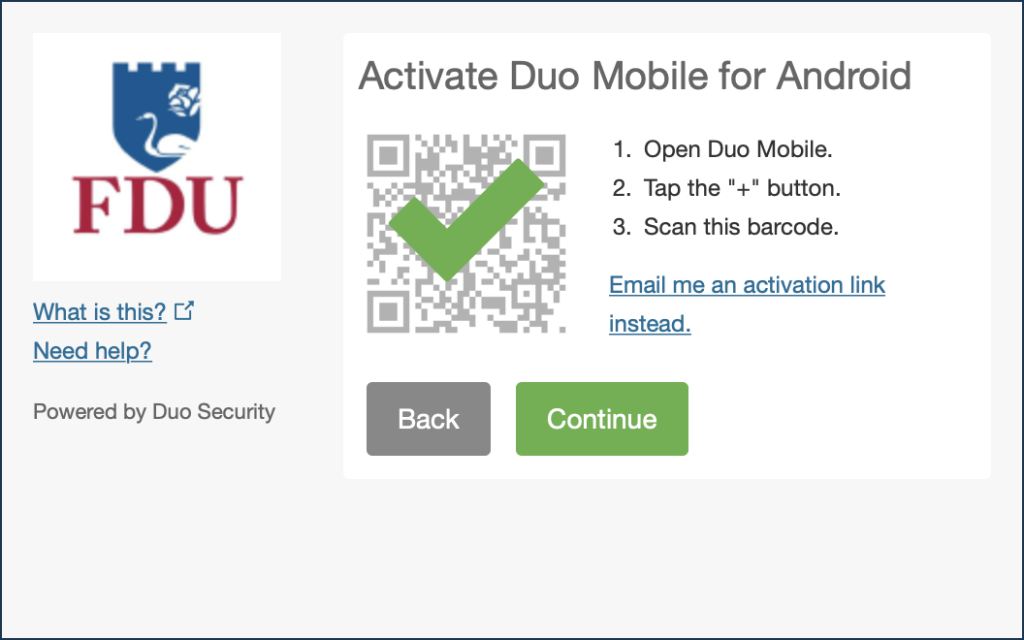
- Next click the “Reactivate Duo Mobile” button (you will need to install the Duo app on your phone to proceed). Then follow the instructions to activate DUO Mobile on your new device.
If you have a new phone number, you will first need to obtain a temporary passcode (see the ‘What are Passcodes?’ section above).
- Login to FDU Self-Service Portal and enter the temporary passcode.
- Click on “Add a new device.”
- Once you complete adding your new device, please delete the device you are replacing.
-
Can I have DUO on more than once device?
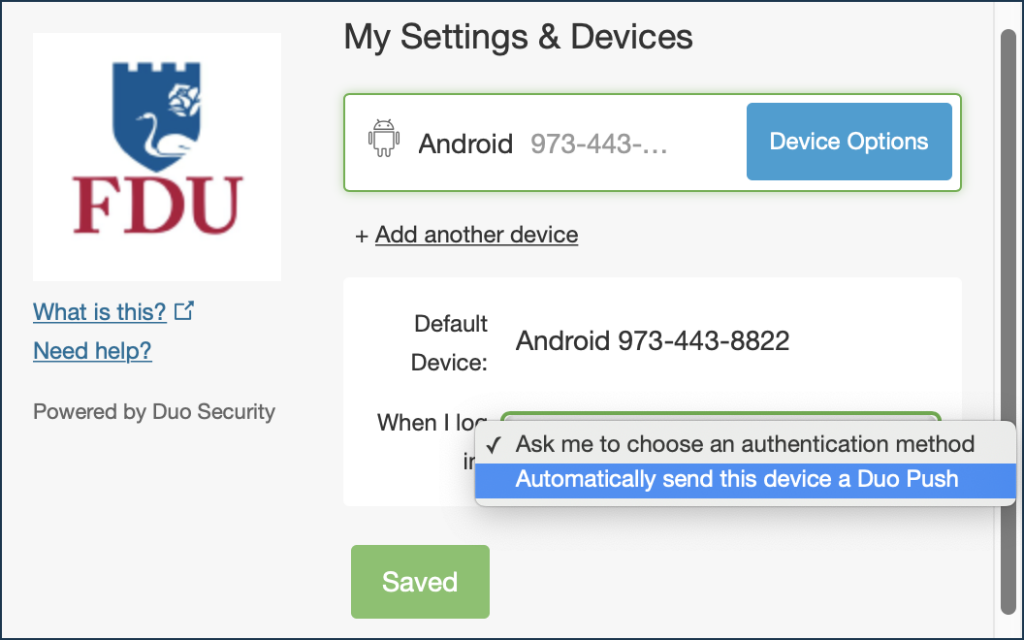
Yes, you can add devices by visiting your DUO settings. When you see the DUO prompt with the three notification options, click “Settings” at the top right.
NOTE: If you are using the Remember Me for 60 days feature, you will need to visit FDU Self-Service Portal access your settings.)
After you click Settings, click “Add a New Device“. You can register smartphones, cell phones, tablets, and landline phones.
-
What can the DUO app access on my smartphone?
The DUO smartphone application serves only to provide two-factor authentication. It does not access any personal information on your device, nor does it track your location. Learn more about DUO’s commitment to privacy on its website.
-
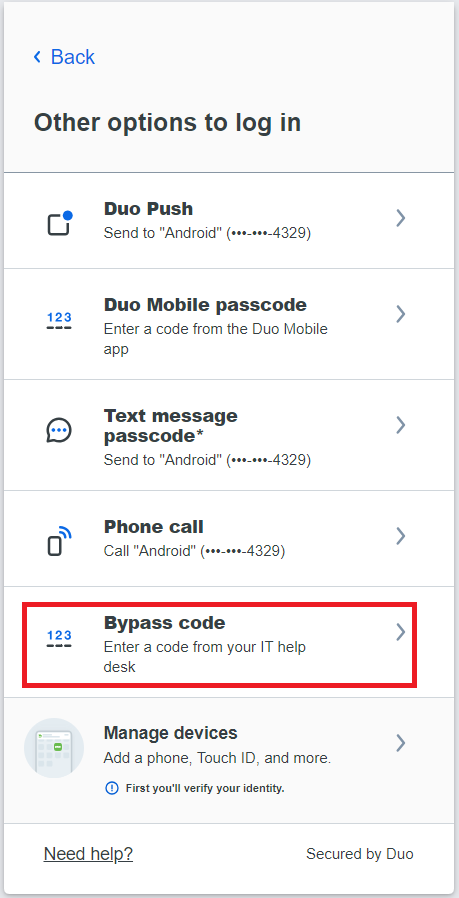
What if I am asked for a ByPass Code?
A “bypass code” is a temporary passcode created by an administrator for a specific user to access a Duo-protected application. These are generally, used as “backup codes,” so that enrolled users who are having problems with their mobile devices (e.g., mobile service is disrupted, the device is lost or stolen, etc.) or who temporarily cannot use their enrolled devices (on a plane without mobile data services) can still access their Duo-protected systems.
A user must have a valid Duo authentication device enrolled (like a phone or iPad) to use a bypass code to authenticate. Bypass codes are not intended as a user’s only 2FA method.
Bypass codes expire after being used the allowed number of times, or after an administrator-defined amount of time. Once a bypass code is created, the timeout and allowed uses cannot be extended.
If you need a Bypass code please visit SAMI Service Desk, where you can request additional information or search our extensive IT knowledge base. While SAMI Support provides the quickest and easiest access for IT support, you can always contact the SAMI Service Desk at SAMISupport.fdu.edu.
-
Still have Questions about DUO?
For additional support, please visit SAMI Service Desk.