Resources

Search our resource library below to find helpful information. You can fitler by your role at FDU as well by department or service.

icon Help Desk
Resources Header

Domain Registration

Resources for:
icon Close

Last Revision: 02/07/2020

I. OBJECTIVE

In an effort to maintain the reputation, security, continuity, and technical oversight of university assets considered part of our overall catalog of services, the Office of Information and Resource Technology is issuing a new policy concerning domain names affiliated with Fairleigh Dickinson University. Affiliation with FDU is determined by OIRT in conjunction with the Offices of General Counsel and Communications and Marketing.

II. POLICY

All domain registrations that have an affiliation with the University must be registered through OIRT. An affiliation is defined as a domain that identifies the University as part of its naming nomenclature and houses content specific to the University or any function, whether administrative, academic, or student related to the University. To request a new domain, please complete the following:

You may also try emailing your questions to domainregistrar@fdu.edu.

In addition to the domain registration, ongoing certification renewals and any backend technical configurations will be managed by OIRT. All costs associated with the domain will be charged back to the department.

Any department that today independently manages/operates a University domain as defined above or has obtained a domain with any affiliation with FDU must notify OIRT of the existence of that domain so ownership can be moved over to OIRT management. Please contact OIRT by sending all available information to domainregister@fdu.edu. A member of OIRT will work with the department to move the ownership over properly. All content of any domain, as well as plug-ins or any other functionality of the domain, will be reviewed by OIRT but are the responsibility of the individual departments.

III. IN CASE OF QUESTIONS

All questions relating to the Domain Registration Policy can be addressed to the VP & CIO of Fairleigh Dickinson University.


Last Modified: Copy Link

Duo – Quick Start Guide

Resources for:
icon Close

Duo Two-Factor Authentication

DUO two-factor authentication adds a second layer of security to your FDU NetID. It requires two factors to verify identity. These factors include something you know – your FDU NetID and password, and something you have – a phone or passcode, to authenticate and gain access to your account on FDU services. Passwords alone no longer provide adequate protection against cyber hacking. DUO is required for all current FDU students. Please follow the steps below.

Install Duo Mobile App

The DUO app is available for mobile phones and iPads. You can directly access the Duo Mobile Security App at the links below.

Activate your DUO Account

NOTE: This step requires a Desktop or Laptop browser.

  1. In a Desktop or Laptop browser visit the DUO Management Portal to begin the activation process by enrolling your device. Activation requires scanning a QR code with the Duo app’s built-in scanner
  1. Duo prompts you to enroll the first time you visit the DUO Management Portal using a browser or a client application that shows the interactive Duo web-based prompt

Supported Browsers: Chrome, Firefox, Safari, Edge, Opera, and Internet Explorer 8 or later. Some browsers do not support all of Duo’s authentication devices (for example, Security Keys won’t work with Internet Explorer). For the widest compatibility with Duo’s authentication methods, we recommend recent versions of Chrome and Firefox.

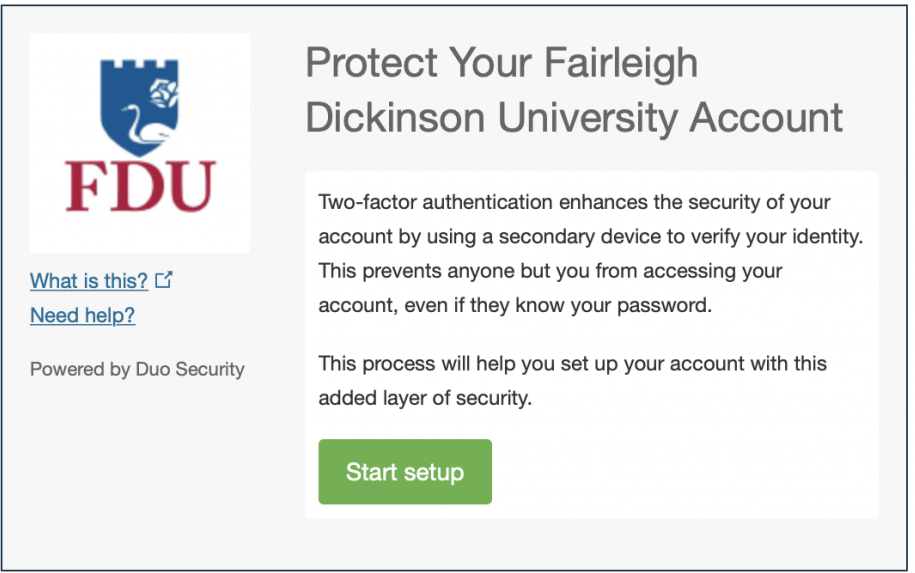
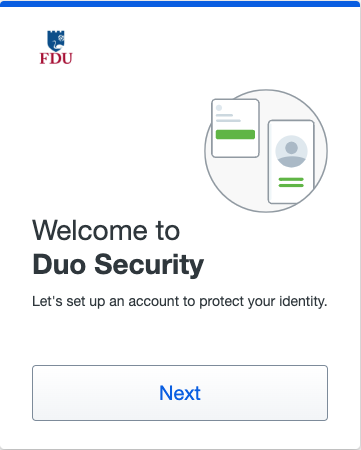
  1. Click “Start setup” to begin enrolling your device
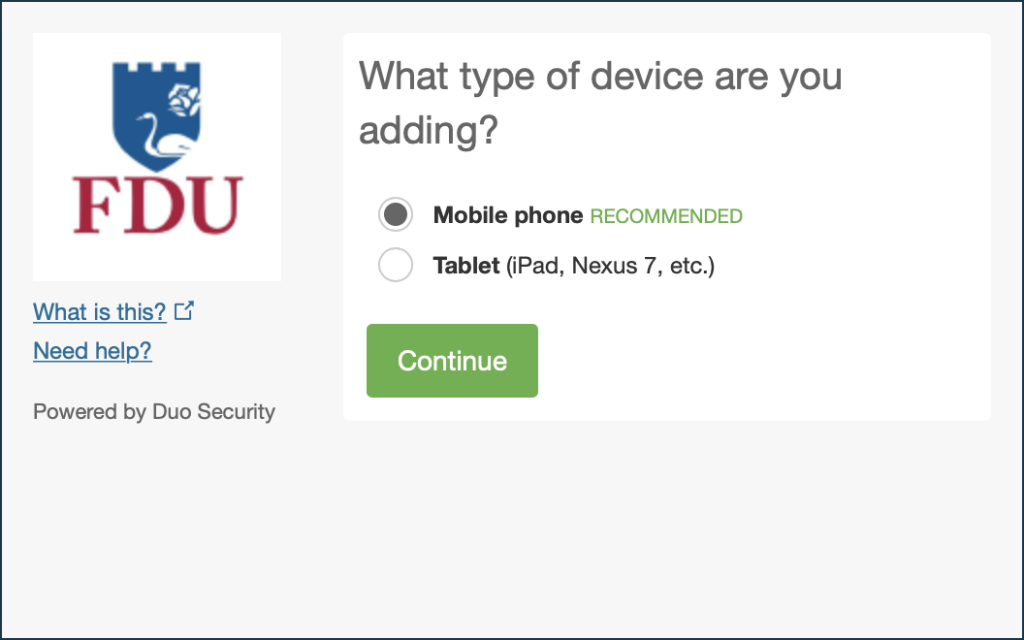
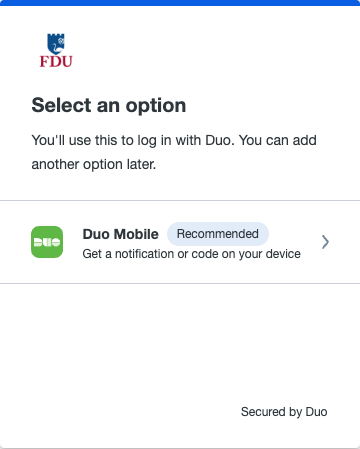
  1. Select the type of device you’d like to enroll and click “Continue“. We recommend using a smartphone for the best experience, but you can also enroll iOS/Android tablets
Duo - Choose Your Authentication Device Type
  1. Select your country from the drop-down list and type your phone number. Use the number of your smartphone or cell phone that you installed the Duo Mobile Security App on in the Step 1
  1. Double-check that you entered it correctly, check the box, and click “Continue
Duo - Type Your Phone Number

NOTE: If you’re enrolling a tablet you aren’t prompted to enter a phone number.

  1. Choose your device’s operating system and click “Continue“.
Duo - Choose Platform
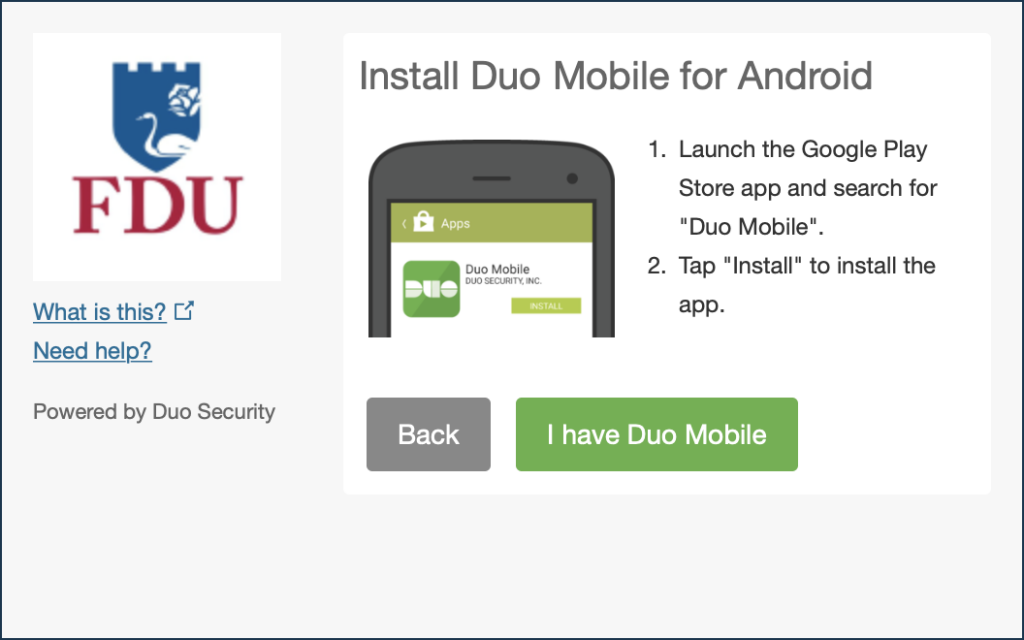
  1. Click “I have Duo Mobile installed”
  • If you have not completed installing the Duo Mobile App in Step 1 please complete now by following the platform-specific instructions on the screen. After installing the app return to the enrollment window
  1. Activating the app links it to your account so you can use it for authentication
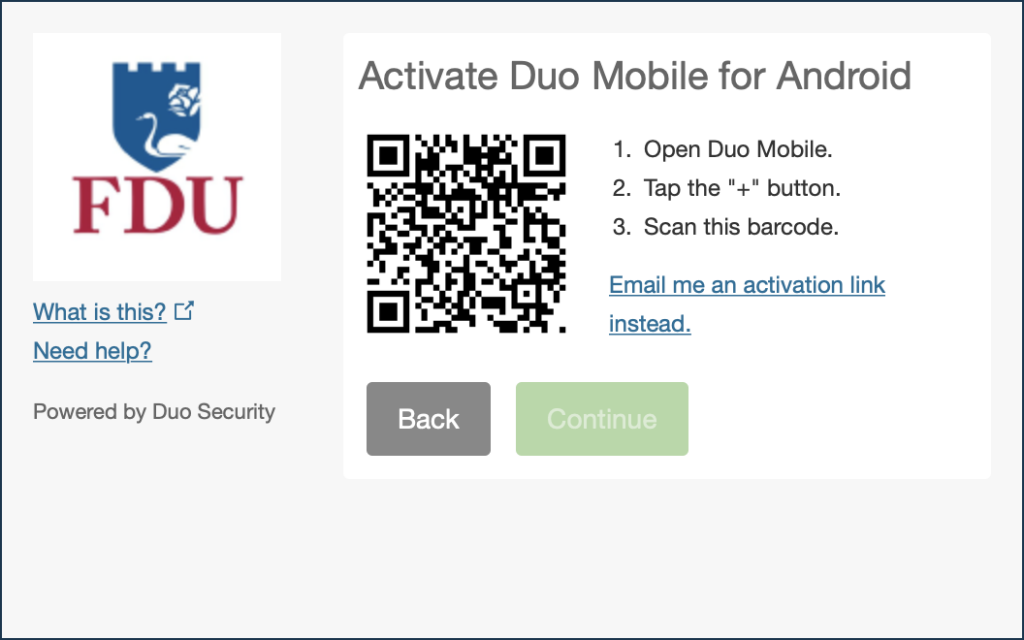
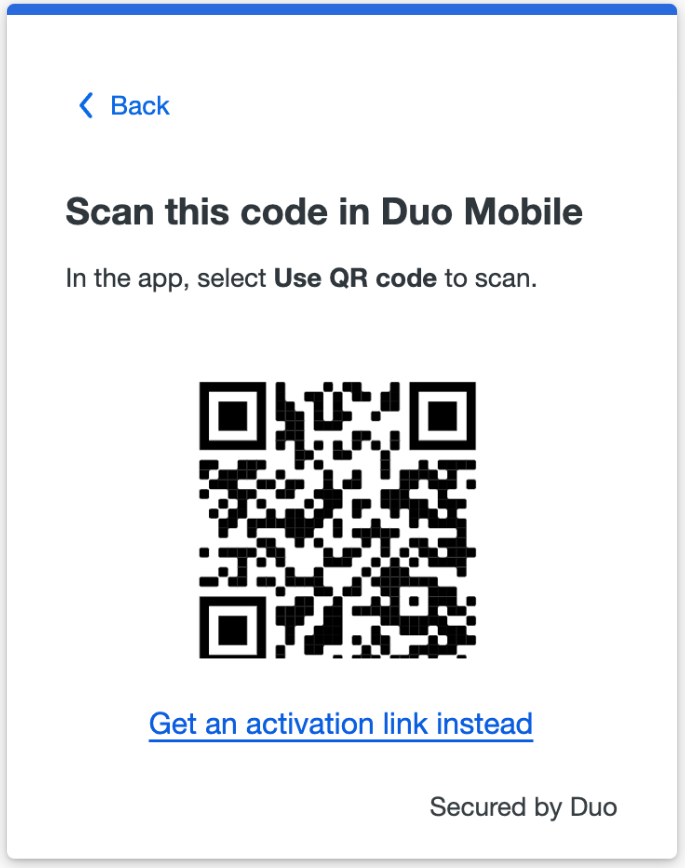
  1. On iPhone, Android, and Windows Phone activate Duo Mobile by scanning the barcode with the app’s built-in barcode scanner. Follow the platform specific instructions for your device:
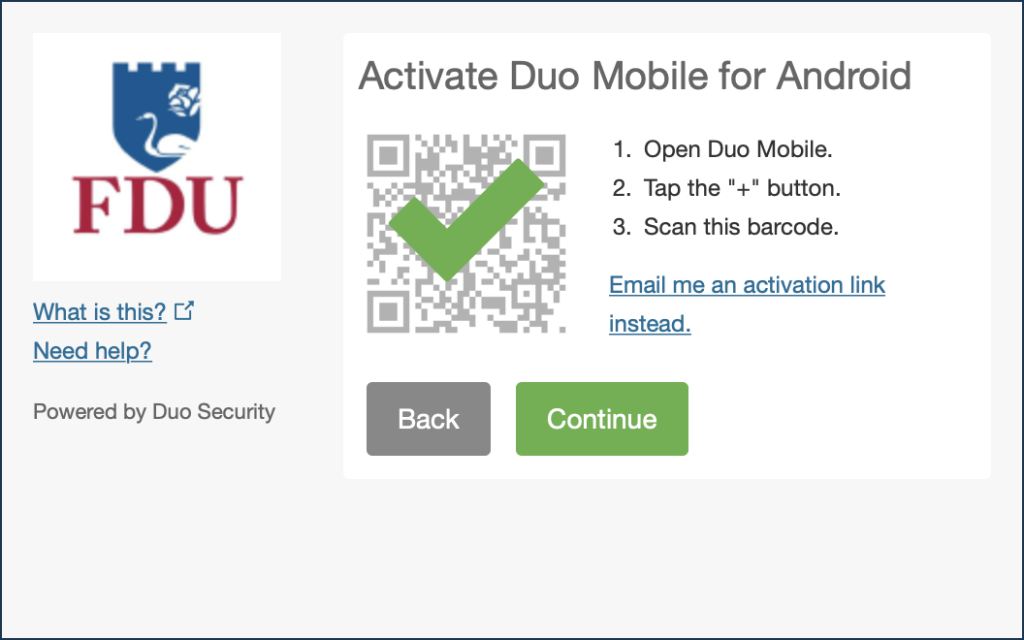
  1. The “Continue” button is clickable after you scan the barcode successfully
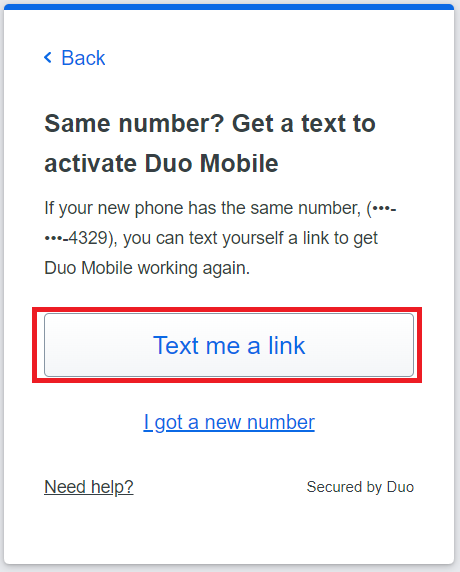
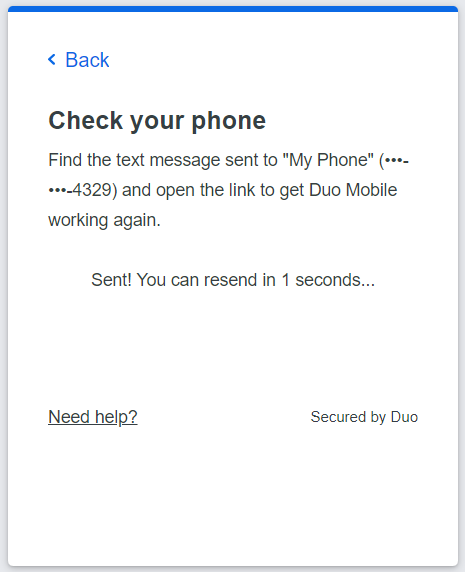
  • Can’t scan the barcode? Click “Or, have an activation link emailed to you instead” and follow the instructions
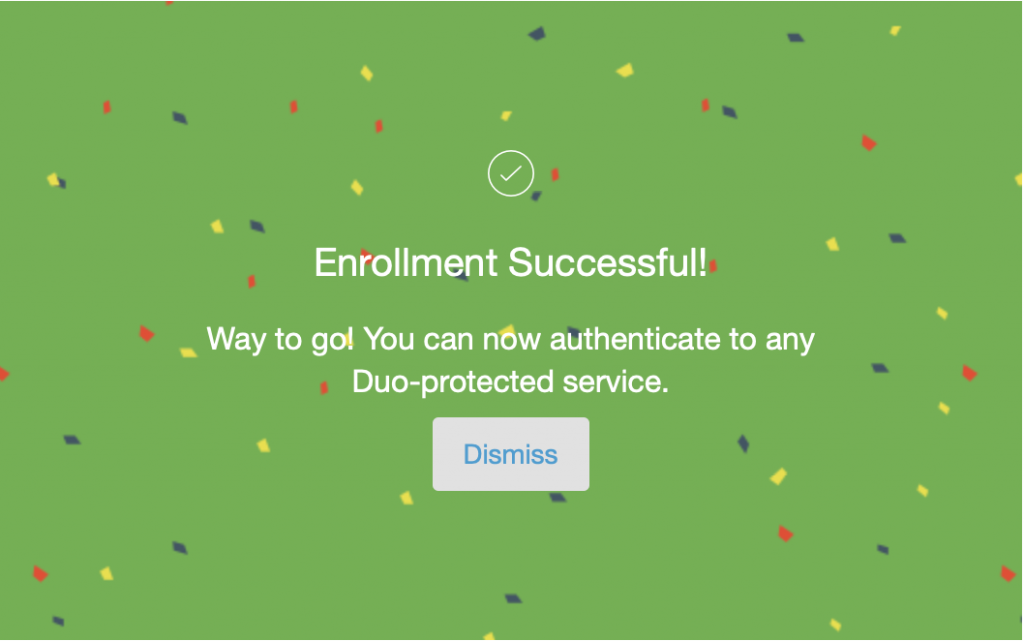
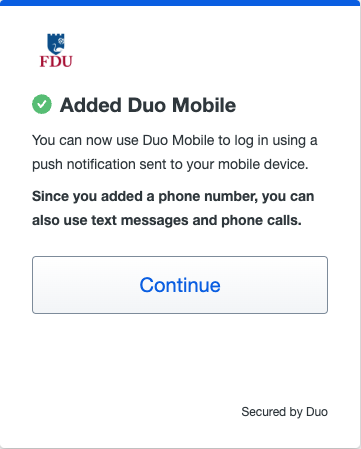
  1. Once activated click “Continue” to complete registration

Configure Device Options (Optional)

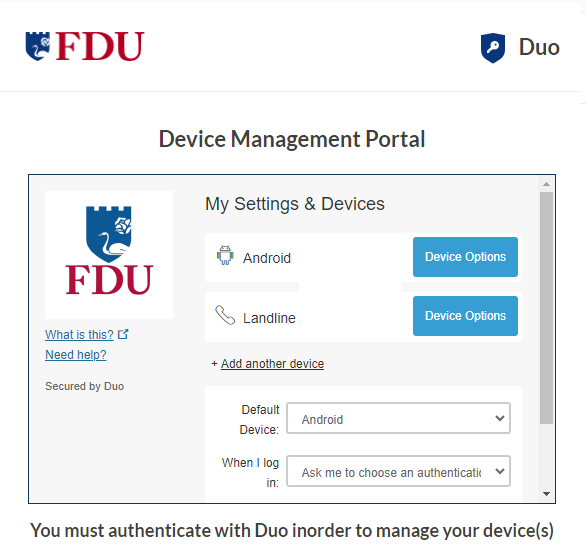
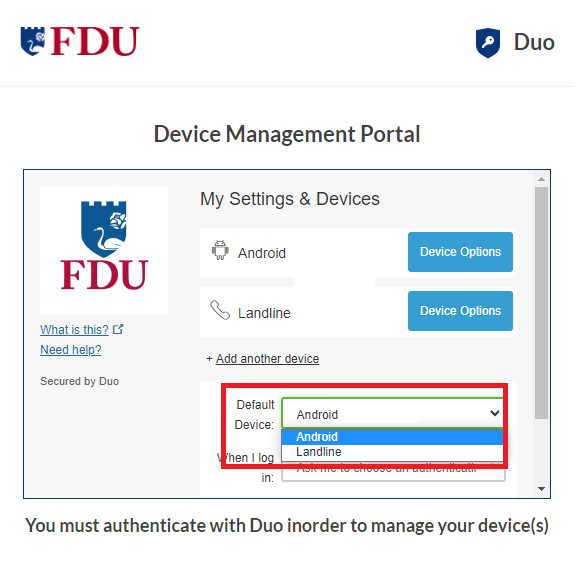
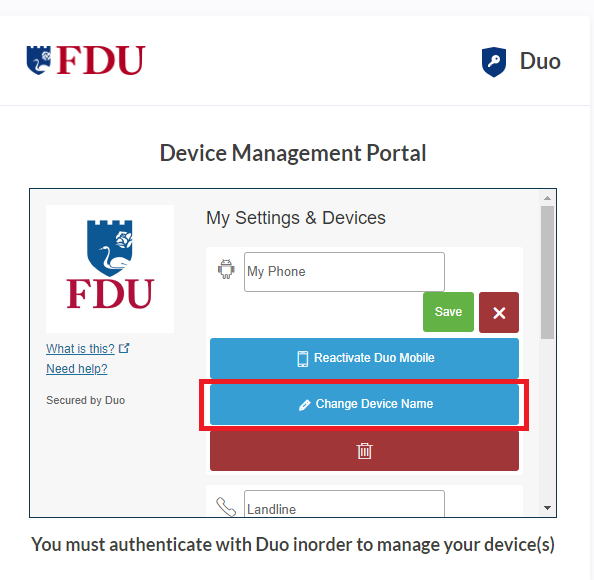
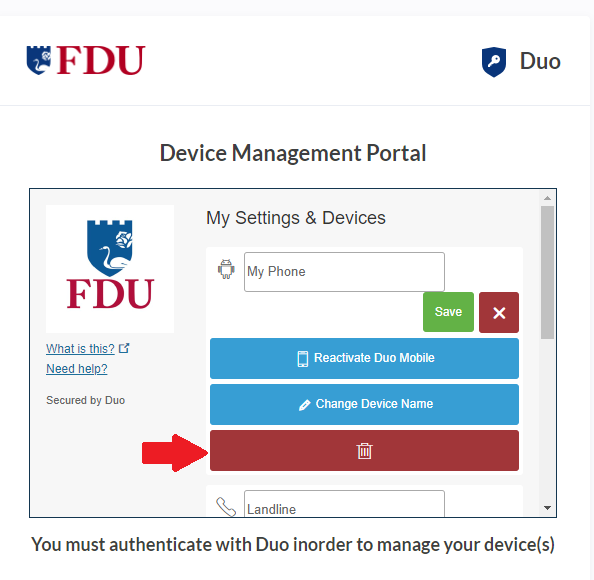
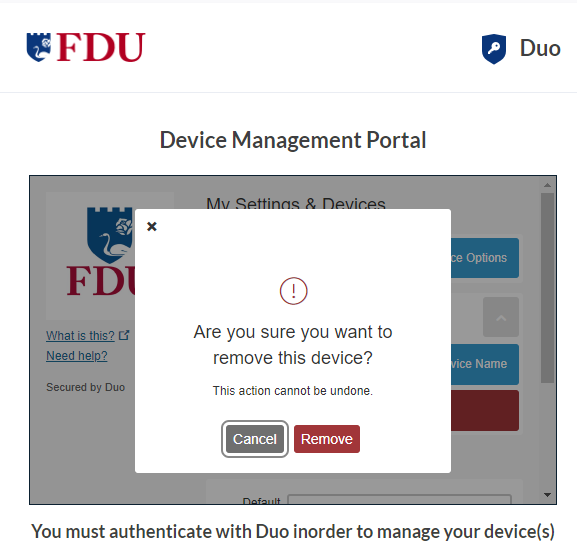
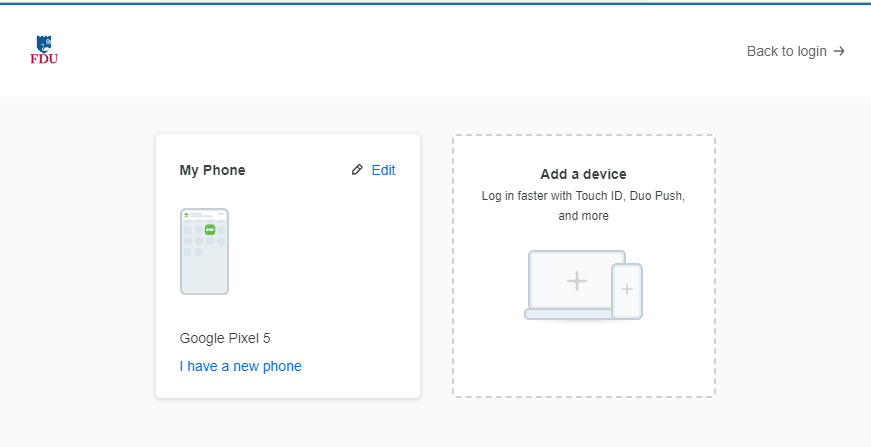
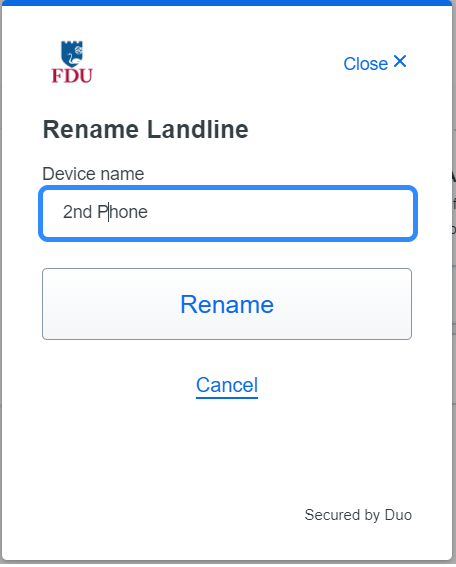
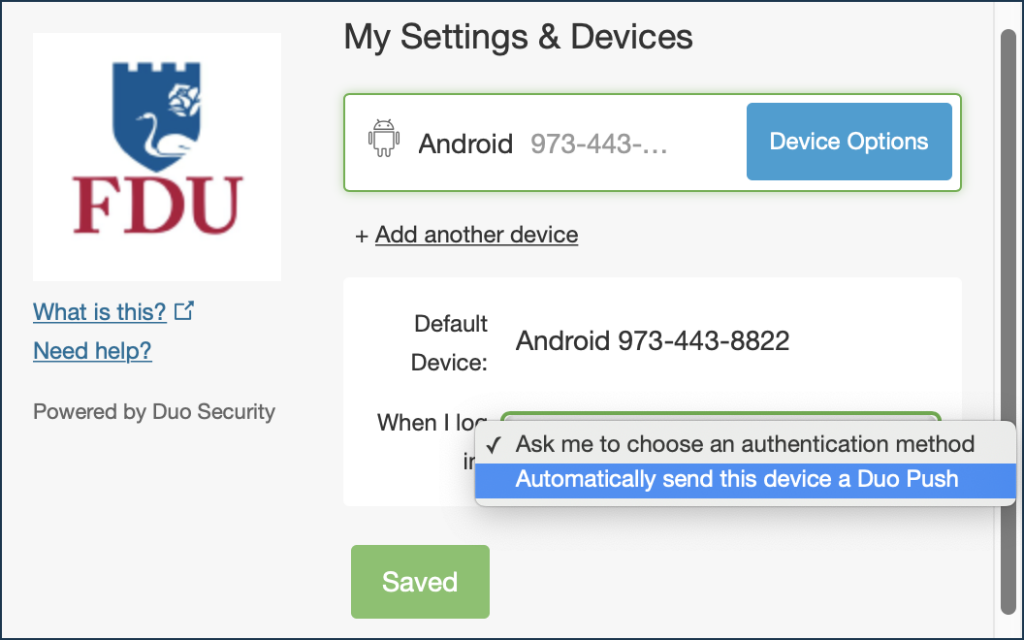
  1. You can use Device Options to give your phone a more descriptive name, or you can click “Add another device” to start the enrollment process again and add a second phone or another authenticator
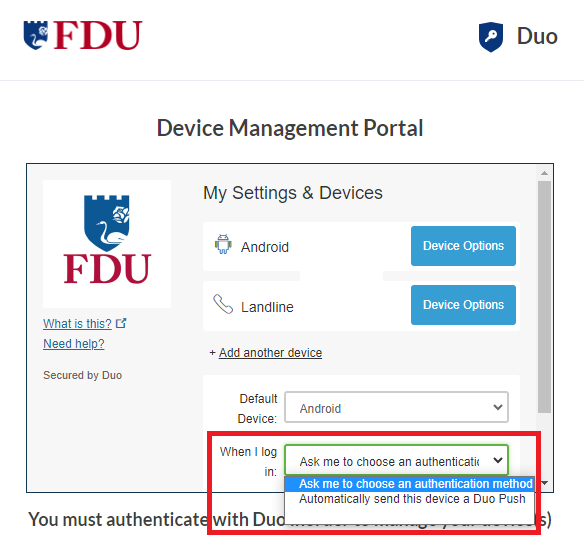
  • If this is the device you’ll use most often with Duo then you may want to enable automatic push requests by changing the “When I log in:” option and changing the setting from “Ask me to choose an authentication method” to “Automatically send this device a Duo Push” and click “Save“. With one of the automatic options enabled Duo automatically sends an authentication request via push notification to the Duo Mobile app on your smartphone.
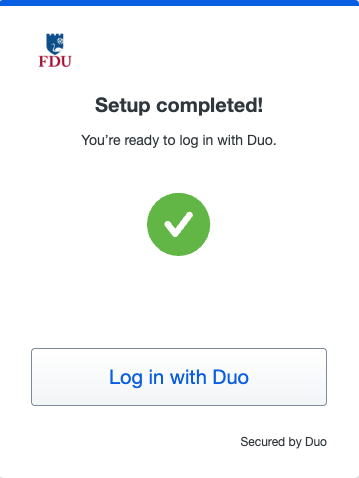
  1. Your device is ready to approve Duo push authentication requests. Click “Send me a Push” to give it a try. All you need to do is tap “Approve” on the Duo login request received at your phone

With DUO activated on your account, and with your device enrolled, you are ready to use DUO. When logging in, you will have two authentication options. Review the options below to determine what works best for you.

TIPS: We recommend the push notification to your smartphone, it’s the easiest. You can also check the box “Remember Me for 60 Days” to only perform the authentication once every two months on that device.


Authentication Options

There are four ways you can use DUO:

PushPreferred Method

Once the DUO mobile app is installed, you can select “Push” to receive a DUO notification on your smartphone. Open the notification, and you’ll see a green checkmark, and a red X. Simply tap the “Green Checkmark” to gain access.

VPN users select the number corresponding to Push or type push (Users with multiple devices will need to include a number indicating desired device i.e. push2).
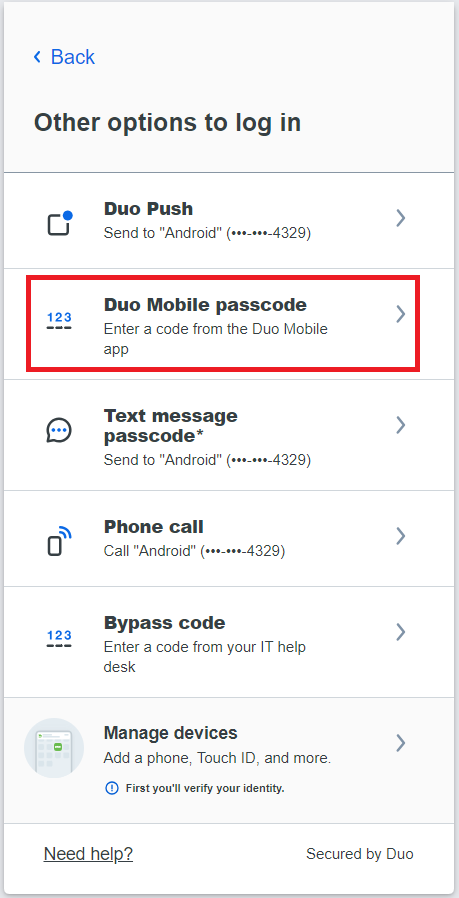
PasscodeOnce the DUO mobile app is installed, you can use the DUO mobile app to generate passcodes. This option does not require wifi or data, so this is a great option if you’re traveling or if you have limited or no cell/Internet service. Open your DUO mobile app, tap the FDU logo and it will reveal a passcode. During login, choose the enter a passcode option, enter the code and you’re in.
SMS Passcode
(Faculty/Staff)
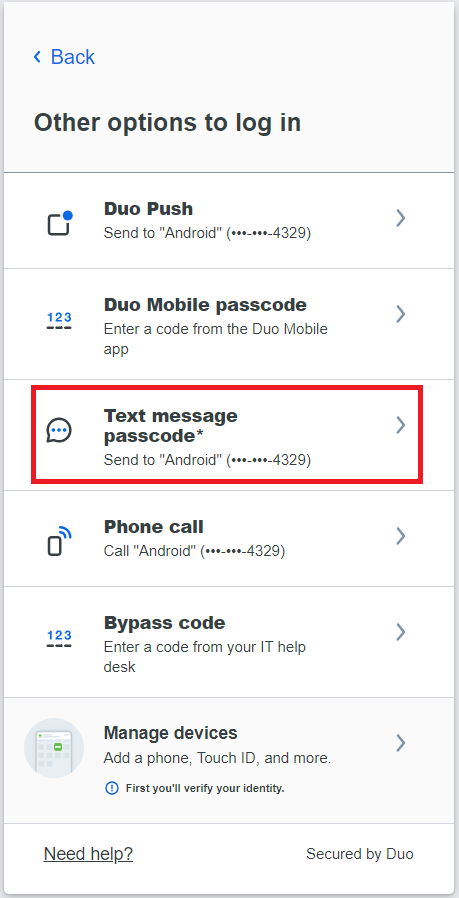
You can receive a one-time use code via text message. To get your one-time code click Enter Passcode, then click on the blue button “Text me new codes.” These codes do not expire, and they are valid until used. You do not have to have a smartphone for this option. Click Send codes to get a new batch of passcodes texted to your phone.

VPN users select the number corresponding to SMS passcode or type sms (Users with multiple devices will need to include a number indicating desired device i.e. sms2).
Call Me
(Faculty/Staff)
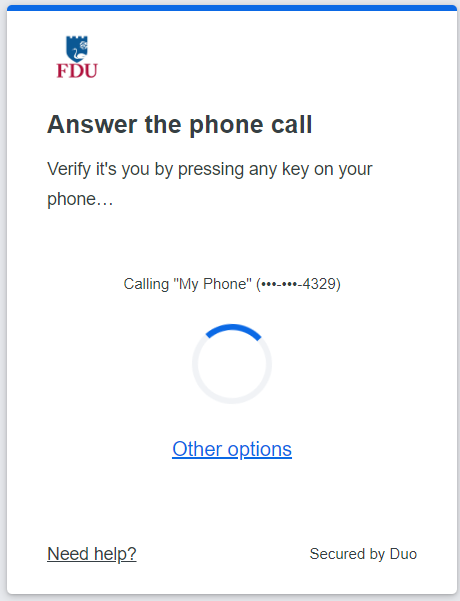
Click the Call Me button on the Duo Prompt and Duo will call your phone. The status bar at the bottom of the Duo Prompt updates at each step of the process.

VPN users select the number corresponding to Phone Call or type phone (Users with multiple devices will need to include a number indicating desired device i.e. phone2).

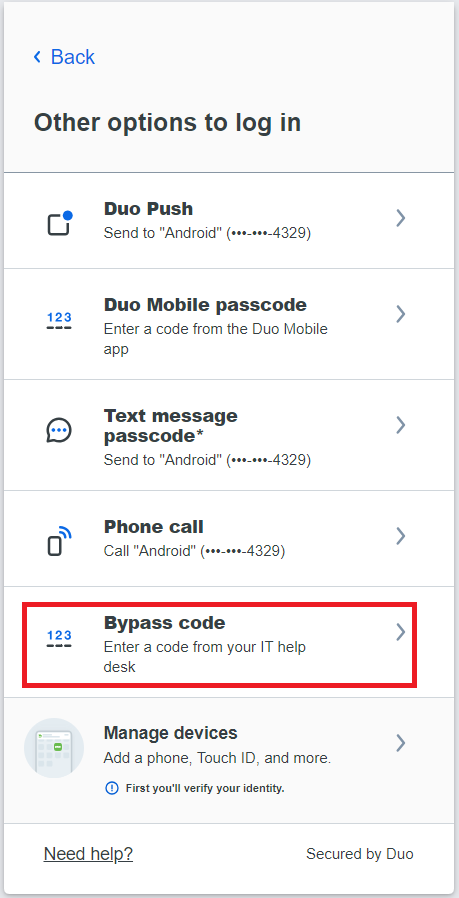
If you do not have your device with you, don’t worry. You can contact the Fairleigh Dickinson University Technical Assistance Center (UTAC) for a temporary passcode. These passcodes can be entered in the DUO prompt on your computer.


How Do I Change Settings or Enroll Another Device?

To change settings or enroll another device, visit DUO Management Portal or any DUO-supported application. When you get to the DUO prompt, click the “Settings” button and choose to add a new device or access your settings.

Last Modified: Copy Link

Duo – Student Quick Start Guide

Resources for:
icon Close

Duo Two-Factor Authentication

DUO two-factor authentication adds a second layer of security to your FDU NetID. It requires two factors to verify identity. These factors include something you know – your FDU NetID and password, and something you have – a phone or passcode, to authenticate and gain access to your account on FDU services. Passwords alone no longer provide adequate protection against cyber hacking. DUO is required for all current FDU students. Please follow the steps below.

Install Duo Mobile App

The DUO app is available for mobile phones and iPads. You can directly access the Duo Mobile Security App at the links below.

Activate your DUO Account

Note

This step requires a Desktop or Laptop browser.

  1. In a Desktop or Laptop browser visit the DUO Management Portal to begin the activation process by enrolling your device. Activation requires scanning a QR code with the Duo app’s built-in scanner
  1. Duo prompts you to enroll the first time you visit the DUO Management Portal using a browser or a client application that shows the interactive Duo web-based prompt

Supported Browsers: Chrome, Firefox, Safari, Edge, Opera, and Internet Explorer 8 or later. Some browsers do not support all of Duo’s authentication devices (for example, Security Keys won’t work with Internet Explorer). For the widest compatibility with Duo’s authentication methods, we recommend recent versions of Chrome and Firefox.

  1. Click “Start setup” to begin enrolling your device
  1. Select the type of device you’d like to enroll and click “Continue“. We recommend using a smartphone for the best experience, but you can also enroll iOS/Android tablets
Duo - Choose Your Authentication Device Type
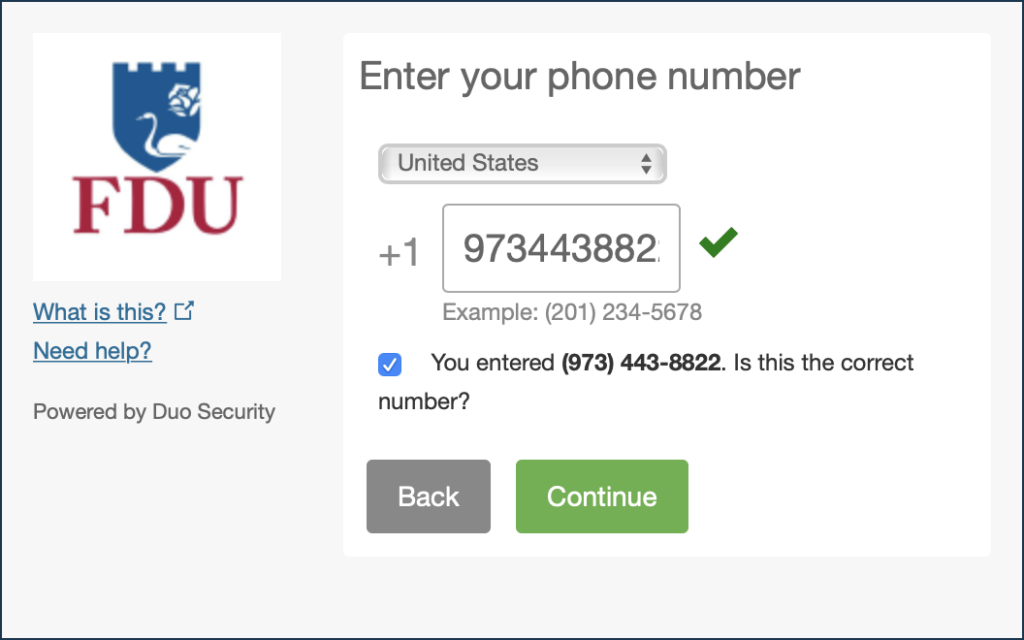
  1. Select your country from the drop-down list and type your phone number. Use the number of your smartphone or cell phone that you installed the Duo Mobile Security App on in the Step 1
  1. Double-check that you entered it correctly, check the box, and click “Continue
Duo - Type Your Phone Number

NOTE: If you’re enrolling a tablet you aren’t prompted to enter a phone number.

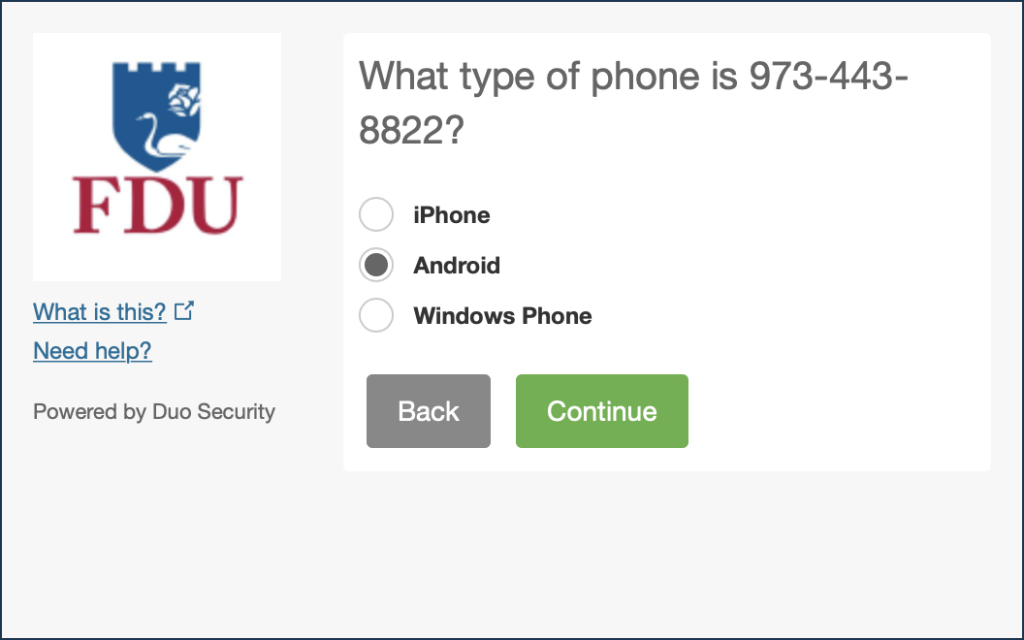
  1. Choose your device’s operating system and click “Continue“.
Duo - Choose Platform
  1. Click “I have Duo Mobile installed”
  • If you have not completed installing the Duo Mobile App in Step 1 please complete now by following the platform-specific instructions on the screen. After installing the app return to the enrollment window
  1. Activating the app links it to your account so you can use it for authentication
  1. On iPhone, Android, and Windows Phone activate Duo Mobile by scanning the barcode with the app’s built-in barcode scanner. Follow the platform specific instructions for your device:
  1. The “Continue” button is clickable after you scan the barcode successfully
  • Can’t scan the barcode? Click “Or, have an activation link emailed to you instead” and follow the instructions
  1. Once activated click “Continue” to complete registration
close
Configure Device Options (Optional)
  1. You can use Device Options to give your phone a more descriptive name, or you can click “Add another device” to start the enrollment process again and add a second phone or another authenticator
  • If this is the device you’ll use most often with Duo then you may want to enable automatic push requests by changing the “When I log in:” option and changing the setting from “Ask me to choose an authentication method” to “Automatically send this device a Duo Push” and click “Save“. With one of the automatic options enabled Duo automatically sends an authentication request via push notification to the Duo Mobile app on your smartphone.
  1. Your device is ready to approve Duo push authentication requests. Click “Send me a Push” to give it a try. All you need to do is tap “Approve” on the Duo login request received at your phone

With DUO activated on your account, and with your device enrolled, you are ready to use DUO. When logging in, you will have two authentication options. Review the options below to determine what works best for you.

TIPS: We recommend the push notification to your smartphone, it’s the easiest. You can also check the box “Remember Me for 60 Days” to only perform the authentication once every two months on that device.

close
Authentication Options

There are two ways you can use DUO:

Push Notification

Once the DUO mobile app is installed, you can select to receive a DUO notification on your smartphone. Open the notification, and you’ll see a green checkmark, and a red X. Simply tap the “Green Checkmark” to gain access.

Passcodes

You can use the DUO mobile app to generate passcodes. This option does not require wifi or data, so this is a great option if you’re traveling or if you have limited or no cell/internet service. Open your DUO mobile app, tap the FDU logo and it will reveal a passcode. During login, choose the enter a passcode option, enter the code and you’re in.

If you do not have your device with you, don’t worry. You can contact the Fairleigh Dickinson University Technical Assistance Center (UTAC) for a temporary passcode. These passcodes can be entered in the DUO prompt on your computer.

close
How Do I Change Settings or Enroll Another Device?

To change settings or enroll another device, visit DUO Management Portal or any DUO-supported application. When you get to the DUO prompt, click the “Settings” button and choose to add a new device or access your settings.

close
Last Modified: Copy Link

DUO TLS Support Policy

Resources for:
icon Close

Warning Warning

After June 30, 2023, Transport Layer Security (TLS) 1.0 and 1.1 connection requests to Duo will not receive a response, resulting in blocked multi-factor authentication.

Who will be affected?

This may affect FDU community users using Windows 7, Windows 8.1, Android Devices with Android OS version 9 or lower, and Apple devices with iOS versions that don’t support TLS 1.2.

Check if you are using the supported endpoints by reading the information below:

  1. Windows

Supported Windows operating system (OS) versions will support TLS 1.2 by default. If you are running a supported Windows OS, no action is required.

Note

If your operating system was manually changed to disable TLS 1.2 for some reason, connection requests will fail. Verify your system is properly configured for TLS 1.2 with the suggested steps below.

Verifying TLS 1.2 on your Operating System

Check OS Version

  • Open the Windows Search box and type “About your PC” and click on “Open”
  • Under Windows Specifications, check which edition and version of Windows your device is running

Enabling TLS 1.2 on your Operating System

If your operating system was manually changed to disable TLS 1.2 for some reason, you can verify or configure your system for TLS 1.2.

Before making any changes, create a backup of the registry:

  1. In the Windows Registry Editor, locate and click the Protocols registry key or subkey
    that needs to be backed up
  2. Click “File”, then “Export”
  3. In the Export Registry File dialog box, select the filename and location of where to save the backup
  4. Click “Save”

After creating a backup of the registry, follow the steps below to enable TLS 1.2 on your system:

  1. Click the Start menu, type “regedit” and press the Enter key. The Registry Editor window should be opened.
  2. Navigate to follow the registry path: HKEY_LOCAL_MACHINE\SYSTEM\CurrentControlSet\Control\SecurityProviders\SCHANNEL\Protocols
  3. Check if the subkey of TLS v1.2 is enabled for both the server and the client. Each protocol’s state is controlled by two keys: Enabled and DisabledByDefault
  4. Make sure the Enabled value is 1 and the DisabledByDefault value is 0 or missing, the protocol is enabled.
  5. If the Enabled value is 1 but the DisabledByDefault value is 1, the protocol is disabled by default – it will not be used unless another host explicitly requests it during negotiation.
  6. If the Enabled value is 0, the protocol is disabled
  7. Restart the system to ensure the new settings take effect
close
  1. DUO Mobile

Supported Duo Mobile applications running on supported OS versions will support TLS 1.2+ by default. If you are running a supported Duo Mobile application on a supported OS, no action is required.

  • Supported Android OS versions: Android 10.0 and greater
  • Supported iOS versions: iOS 14.0 and greater

Note

Using a mobile device with unsupported versions can still receive DUO push or generate one-time passcode as before, but it will prevent you from logging in to any systems that are accessed through our FDU Single Sign On Login Page.

  1. Web Browsers

Common web browsers like Google Chrome, Microsoft Edge, Mozilla Firefox, Opera, etc. with their latest version are supporting TLS 1.2.

Note

If your browser was manually changed to disable TLS 1.2 for some reason, connection requests will fail. Please verify your browser is properly configured for TLS 1.2 with the suggested steps below.

Check TLS Support on a Web Browser

Chrome and Microsoft Edge

  1. In the Windows menu search box, type “Internet Options”
  2. In the Internet Properties window, on the Advanced tab, scroll down to the Security section
  3. Make sure the “User TLS 1.2” checkbox is checked
  1. Click Ok and restart the browser

Mozilla Firefox

  1. Open the Mozilla Firefox Browser
  2. In the address bar, type “about:config” and press Enter
  3. In the Search Field type “tls”. Find and double-click the entry for “security.tls. version. min”
  4. Make sure the integer value is 3 to force a minimum protocol of TLS 1.2
  1. Click Ok and restart the browser
close

We understand that upgrading your device is not always an option. In these instances, you can still use Duo Passcodes to perform multi-factor authentication.

  1. To use this method, select “Enter a passcode” upon receiving your browser’s Duo security prompt.
  1. Next, open the Duo app and click “Show”. This will provide a six-digit passcode which you can enter into the browser prompt.
  1. Enter the six-digit passcode from the DUO app and click “Log in”

If you need any assistance, contact the Fairleigh Dickinson University Assistance Center (UTAC) to open a SAMI Support Request to have this option enabled.

Last Modified: Copy Link

Echo360

Resources for:
icon Close

Echo360 helps instructors capture and extend those moments to improve student engagement before, during and after class.

Through our technology platform, students have 24/7 access to classroom discussion, presentation materials, and the lecture itself.

Getting Started with “Echo 360 Universal Capture: Personal

Universal Capture: Personal is a stand-alone application designed to be used by instructors on their personal computers to generate video recordings. The software enables you to create video recording across multiple computing platforms via a unified interface. That means instructors can record and share video on Mac and Windows computers, inside or outside of the classroom, with an identical user experience on each device.

For those faculty members who do not yet have an Echo 360 account, it is necessary for you to login to Webcampus first. Therefore, please follow the directions below in order for you to have access to Echo360 environment. Once you have completed these steps via webcampus, thereafter users will be able to login directly to echo360.fdu.edu with their FDU NetID credentials.

Note

For those who already have an account in Echo360 please go to Step 13.

  1. Login to Webcampus using your FDU NetID
  2. Click on “Your Course
  3. Click on “Course Documents
  1. Click on “Tools
  2. Click on “Echo360 Cloud
  1. In this page, enter a Name that makes it clear this is the link for Echo360 class content, for example: “Echo360 Recordings”
  2. Click “Submit
  1. A new link will appear on your Course Documents page titled “Echo360 Recordings“. This maybe at the bottom of the Course Documents page
  2. Click on the “Echo360 Recordings” link. This will redirect you to the Echo environment
  1. Click on the “Gear Icon” on the top right
  2. Click on “Downloads
  1. From the Universal Capture: Personal area of the Downloads page, select the link to download the installer appropriate for the type of computer/operating system you are running. After you have downloaded the personal capture, follow the instructions on how to capture your lectures using this tool
  1. Once you have installed the software, please launch the Universal Capture: Personal application. If you see the following login screen, click on the link and login with your FDU NetID credentials
  1. After logging in select the inputs you want to capture from the two drop down menu. If the drop down menu says No Input just select the option you want from the available sources
    • Left Input: Click on the dropdown menu to select your input for the left video channel (e.g. display, webcam, etc.).
    • The bars in the middle shows the volume levels of the audio capture.
    • Right Input: Click on the dropdown menu to select your input for the right video channel (e.g. display, webcam, etc.).
    • The Display option from the drop down menu chooses the application that you want to record from your computer for example a PowerPoint presentation.
    • Preview the inputs on the screen; to be sure, they will record properly.
  1. Click the “Pencil Icon” or title to launch the Capture Details dialog box
  1. Enter a Title, add a Description or Tags and select a Publishing location for the recording. By default, your recordings are published to your “Library” folder
  2. Click “Save
  1. At this point, if you are going to present any materials via PowerPoint, Web or any other applications open it and minimize it
  2. When you are ready, click the “Record” button. You will have 5 seconds before recording starts so you can switch to the material you want to present
  1. During a recording, you will have the option to Stop, Pause, or Cancel recording. Do not stop recording until you are totally finished with the session. If you click on the cancel button, it will cancel the entire recording
  • Once you stop the recording, you will receive a message and you can click on the “Close” option to exit the program. Once your recording process is finished, it will automatically publish to the location that you have specified. You will receive an email when processing is finished and you are able to view your recording
Viewing Recording

Once you receive the email, your video is online and ready to be viewed.

  1. Log back into echo360.fdu.edu
  2. Click on the “My Content” tab on the left side of the window.
  3. Click on the recording that you want to view
  1. If you want users to view your recording, scroll down towards the bottom of the screen to the “Links” section. Copy the link and you can send it to users via email
Last Modified: Copy Link